
Beginners can follow an ordered rhythm. The right sequence removes guesswork. It steadies the hand. It preserves the look. It keeps clients returning.
Set Up
Work like a spa curator. Lay out tools in sight. Use the included storage box so pieces don’t tangle. Keep a picker pen, tweezers, glue or builder gel, and a small dish for spacer stones within reach. Confirm lighting and a steady surface. Short sessions need the same care as long appointments.
Anchor First
Start with larger, structural stones. Squares and rectangles form the anchor. Place these at the design’s center or at strong junctions: cuticle points, free-edge centers, or along a negative-space line. Anchors set the geometry. They control spacing for the rest.
Flow With Raindrops
Next, add raindrops and teardrops to create flow. Their tapered ends point toward anchors or along the nail’s natural curvature. Work outward from each square, using the mirrored faces to read reflections and alignment. Tweak orientation while adhesive is wet, but avoid moving stones repeatedly. Each adjustment risks reduced hold.
Insert Small Shapes
After flow pieces are placed, fill gaps with ovals and tiny rounds. These smaller shapes bridge visual negative space. They also lock larger pieces in place when cured or fully set. Use minimal adhesive; too much causes slippage and messy edges. For gel systems, place and cure in logical batches rather than one stone at a time to keep workflow efficient.
Hearts and Moons
Reserve hearts and half-moons for focal accents. These shapes read clearly even when small. Place hearts on accent nails or over anchor stones to create layered depth. Moons work well near the cuticle or as repeating rhythm along the free edge. Position them after the main composition is balanced visually.
Mirror vs Matte
Use the contrast between mirrored facets and matte metallic backs deliberately. Mirrored gems catch attention; matte backs mute it. Place mirrored pieces where highlights should fall. Use matte pieces as quiet supports. This keeps designs modern and minimal while maximizing perceived luxury.
Batch Curing And Adhesion
Work in small successions. Place three to five nails, then cure if using builder or gel. For glue, let initial tack form before adding adjacent stones. This reduces repositioning. It also protects facet edges from resin overflow. If a stone needs shifting, lift and reapply rather than drag it across the nail surface.
Final Lock
Once placement is complete, encapsulate or seal edges as appropriate. Use clear gel around the base of each flat-back gem to secure it without covering reflective faces. A thin bead protects against snags and preserves shine. Inspect each piece at arm’s length to confirm alignment before final cure.
Quick specs
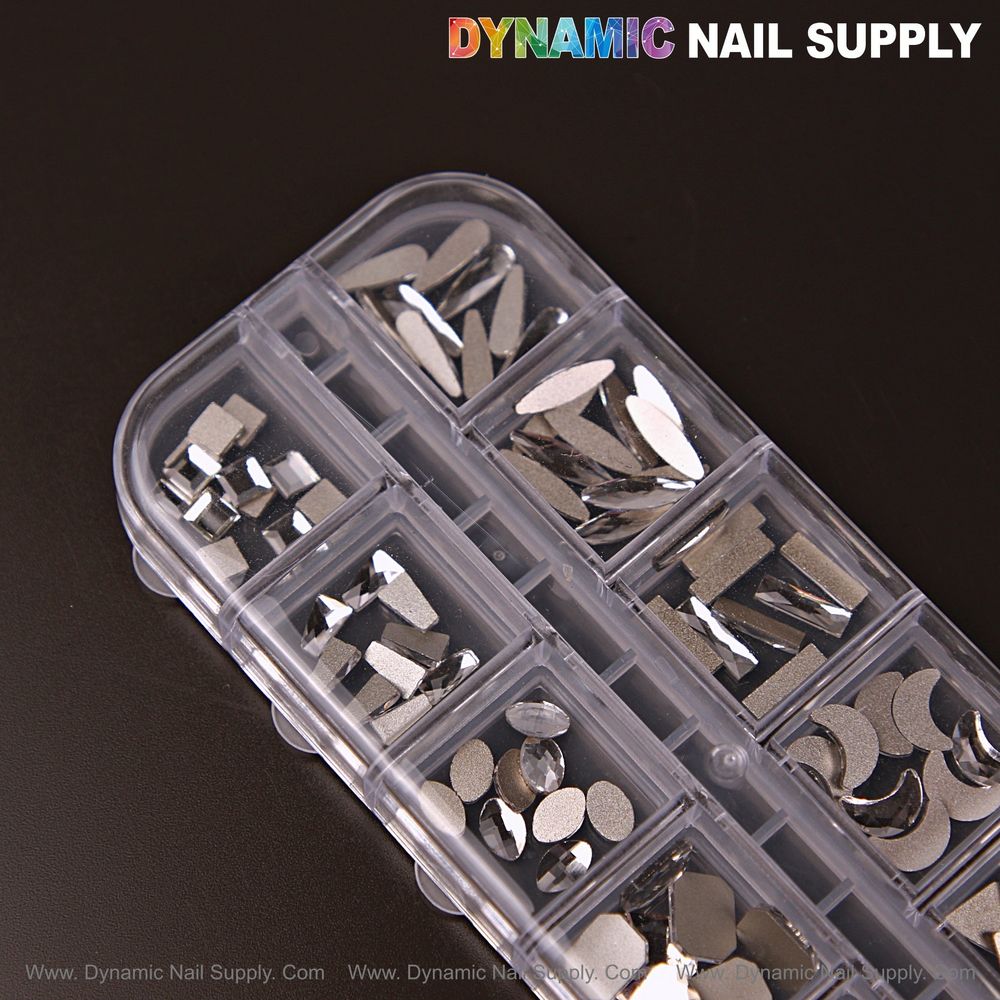
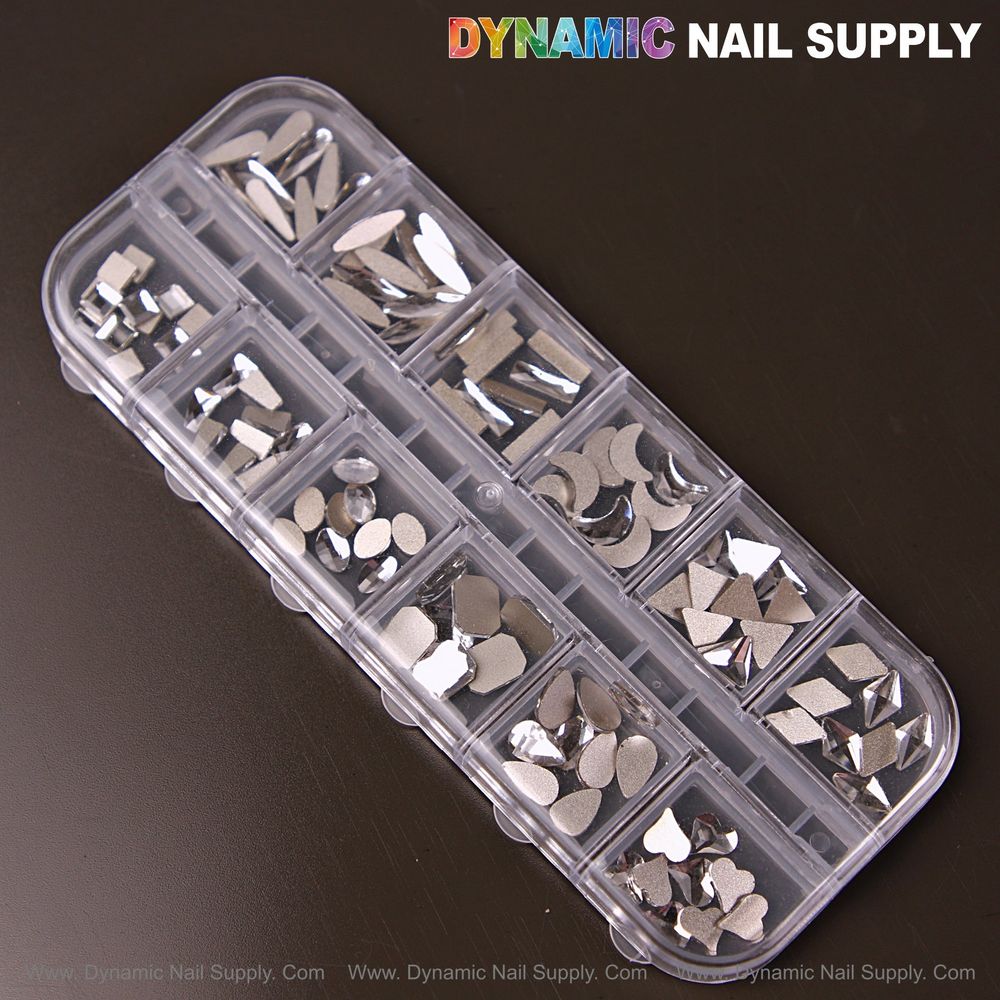
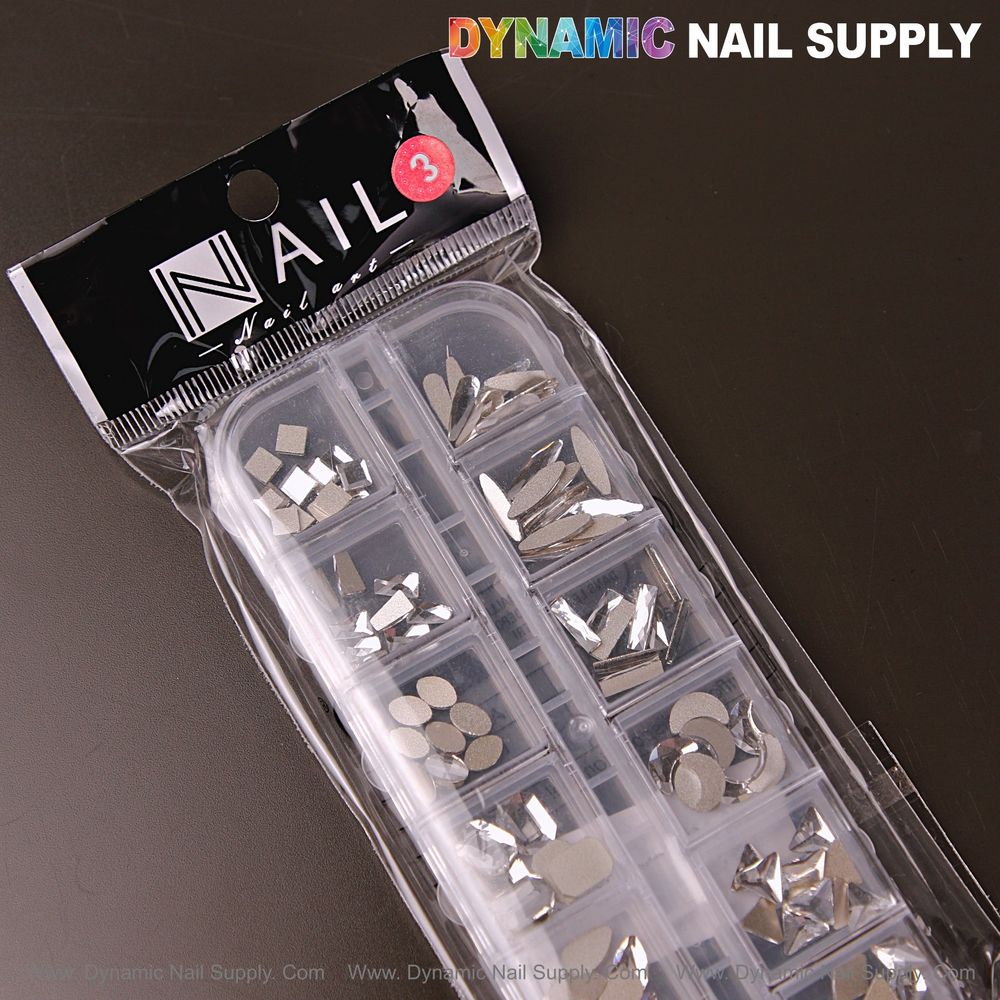
- Set name: Silver 3 Mixed 12 Raindrop Square Heart Moon Art Gems
- Contents: 12 assorted flat-back crystal shapes in silver
- Finish: mirrored facets and matte metallic backs
- Includes: multi-compartment storage box, picker pen and tweezers
- Price: $5.99 (may change)
For a visual reference and to confirm the exact assortment and case layout, view the product listing here https://dynamicnailsupply.com/products/silver-mixed-12-raindrop-square-heart-moon-shapes-nail-art-rhinestone-gems
Speed Without Sacrifice
Technique beats haste. A steady sequence shortens overall time. It reduces rework. It improves adhesion. That reliability builds client trust. Consistency keeps clients booking repeat services.
Handling Notes
These are small parts. Keep them away from children under three. Avoid dragging tools over mirrored faces to prevent scratches. Store pieces in their compartments to prevent loss and cross-contamination of finishes.
Use this ordered placement approach with the Silver 3 mixed set. It fits mobile nail tech workflows. It supports clean, repeatable results. The sequence protects adhesion and saves time. Encourage clients with the quiet confidence of a curated, consistent finish.
