
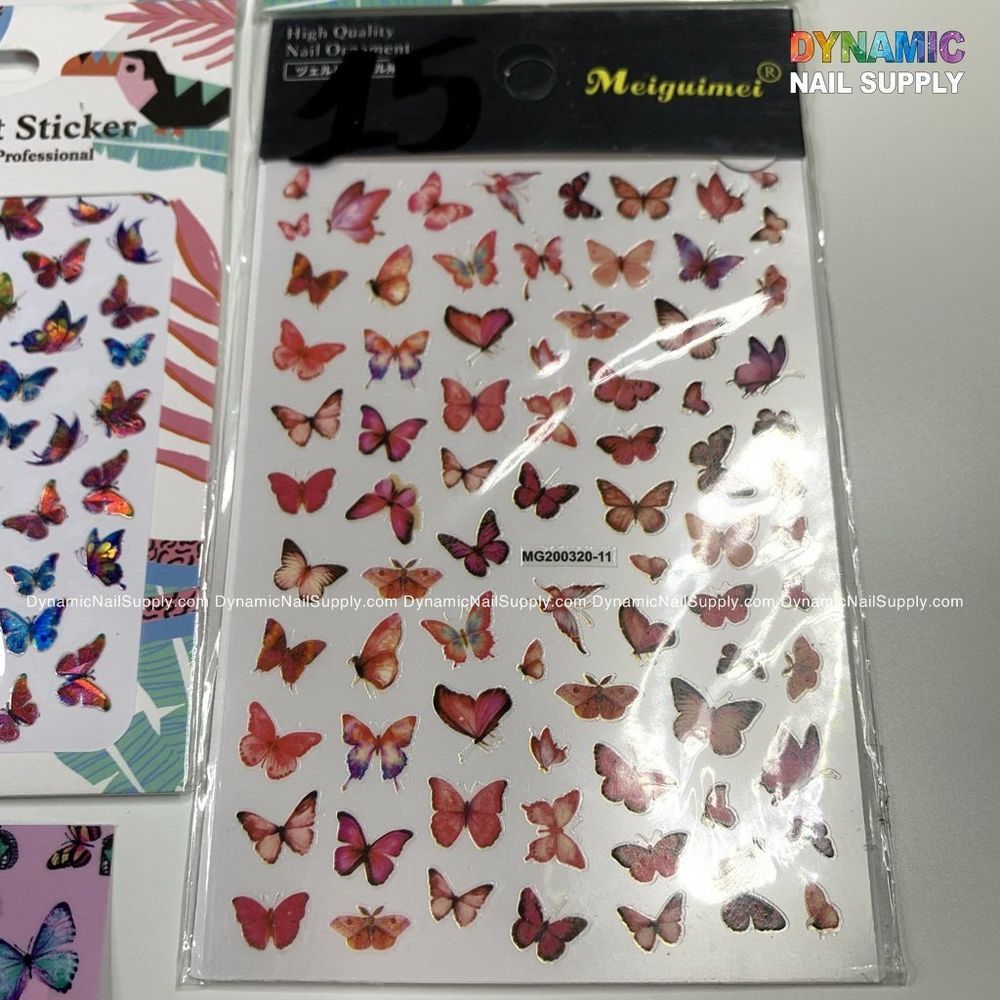
Small decals can make a big statement. A butterfly nail stickers pack lets beginners add delicate accents to manicures without advanced tools or long drying times. This guide defines the basic terms, walks through step-by-step application, and offers practical tips so your first set looks clean and lasts.
What “butterfly nail stickers pack” means
In plain language, a butterfly nail stickers pack is a set of pre-printed adhesive decals designed for fingernail or toenail decoration. The product facts list a 15-piece set, so expect enough decals for multiple manicures or a full set on one or two people depending on design choice. These stickers are intended as surface decoration to be applied over polish, gel, or bare nails.
Key terms explained for beginners
- Decal vs. sticker: A decal is typically thinner and conforms better to the nail curve; the terms are often used interchangeably in retail listings.
- Top coat: A clear polish or gel applied over decals to protect them and help them last.
- Placement: Where you position the sticker on the nail (tip, center, base, or angled).
- Seal: Applying a top coat to lock the decal in place and smooth the surface.
If you want to see a compact option made for quick design work, check the sheet of butterfly nail stickers for a simple starter choice.
What’s in the pack and what to expect
The packaging lists 15 pieces—typically a mix of sizes to fit different nail widths. No extra components are required to use them, though you will get neater results with basic nail tools like clean-up brushes, tweezers, and a quality top coat. The price is shown at $2.00, which makes this a low-cost way to try decorative accents; prices may change.
Step-by-step application for beginners
- Prep the nails: Remove old polish, shape nails, and push back cuticles. Wipe the nail surface with a lint-free pad and a little rubbing alcohol or nail cleanser to remove oils.
- Choose your base: Apply a base color if desired and let it dry fully. For gel polish, cure according to product instructions before placing stickers.
- Select and trim: Pick a sticker size close to the nail width. If necessary, trim the decal with small scissors to better match the nail shape.
- Pick up the decal: Use tweezers or a stick to lift the sticker gently—this prevents fingerprints and stretching.
- Place it: Position the sticker on the nail, starting at the cuticle edge and smoothing outward, or place at the tip for a different look. Press firmly to remove air pockets.
- Seal: Apply one thin layer of clear top coat. Let it dry and apply a second layer for longevity. If using gel top coat, cure as directed.
- Finish: Clean any excess polish at the edges and buff lightly if needed to smooth raised edges before final sealing.
Practical tips to make decals look professional
- Work one nail at a time, especially if your base polish isn’t fully dry—this reduces smudging.
- If a sticker wrinkles, gently lift and reposition with tweezers; if damaged, swap for a fresh decal.
- For a custom layout, combine multiple small butterflies on a single nail or mirror a design across both hands.
- Edge sealing: brush a thin top coat over the free edge of the nail to minimize lifting.
- Keep a small pair of scissors or nail clippers handy to trim stickers that overhang the free edge before sealing.
Who should use this product?
This 15-piece butterfly set is ideal for beginners, hobbyists, or nail technicians offering quick accent designs. It suits anyone who wants instant nail art without hand-painting skills or machine tools. Because the pack size is compact, it’s also useful for testers who want to experiment before committing to larger or pricier collections. Dynamic Nail Supply carries similar low-cost accent options if you’re exploring more looks.
Care, removal, and safety notes
- Aftercare: Avoid soaking nails in hot water for the first hour after application to help the adhesive set beneath the top coat.
- Longevity: A good top coat extends wear; reapply a thin clear coat every few days for extra shine and protection.
- Removal: Soak a cotton pad with nail polish remover, place on the nail, and wrap with foil for several minutes, then gently slide the decal off. Do not force peeling—this can damage the nail plate.
- Allergy caution: If you notice redness, itching, or irritation around the nail, discontinue use and consult a healthcare professional. Keep decals away from eyes and do not ingest.
- Storage: Store the pack flat in a cool, dry place to prevent curling or loss of adhesive tack.
Quick troubleshooting
- If a sticker lifts at the edge, press it down and reseal with a top coat.
- Ridges or bumps? Buff gently before applying the base color and use a thicker final top coat to smooth the surface.
- Sticker too large? Trim the edges or file the free edge after placement but before sealing for a neat finish.
Butterfly decals are a low-barrier way to add personality to nails—especially for first-timers. With simple prep, precise placement, and a good sealing step, a 15-piece butterfly nail stickers pack delivers quick, repeatable designs you can build on as your skills grow.
