
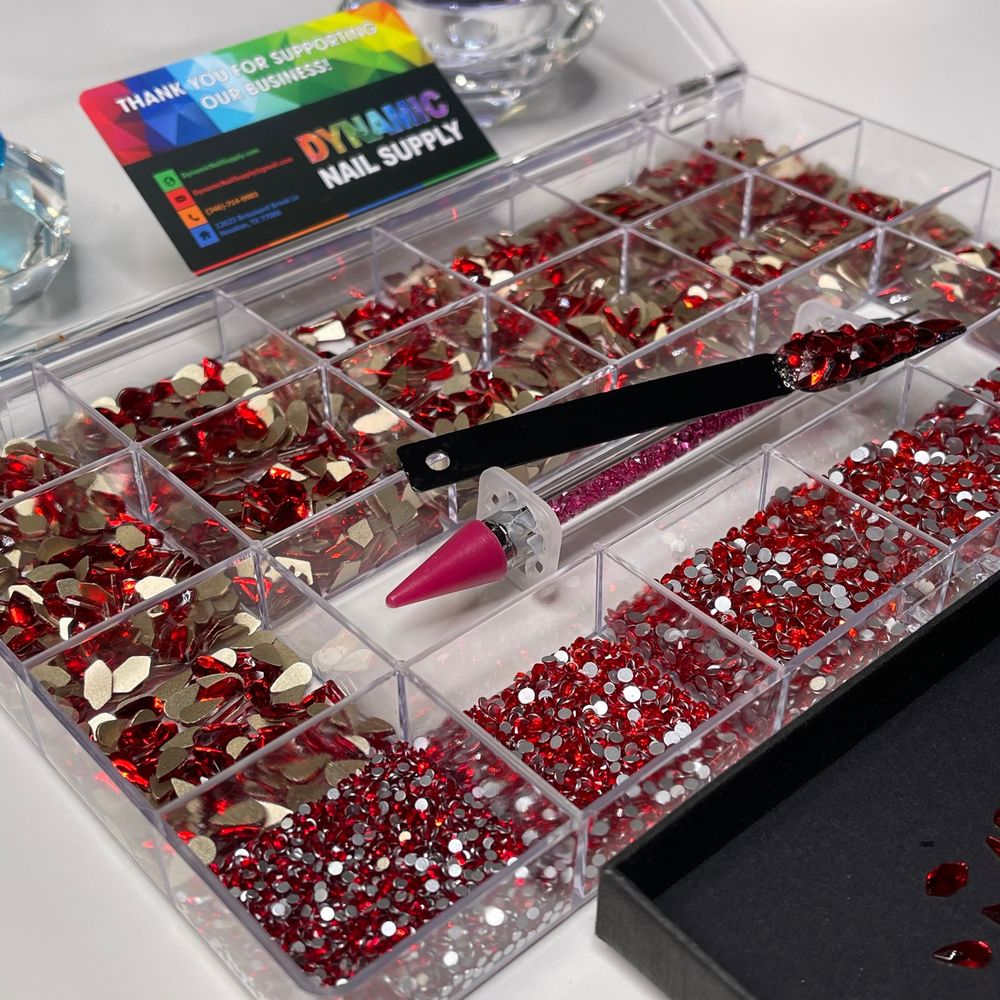
Bright red crystals instantly elevate nail art from simple to statement — but if you’ve never worked with multi-shape rhinestones before, the size and variety can feel overwhelming. This guide breaks the process down into clear steps so beginners can place stones neatly and confidently.
If you want product details before you begin, check the red crystal rhinestone set kit for a full contents list and packaging information.
What this set actually contains
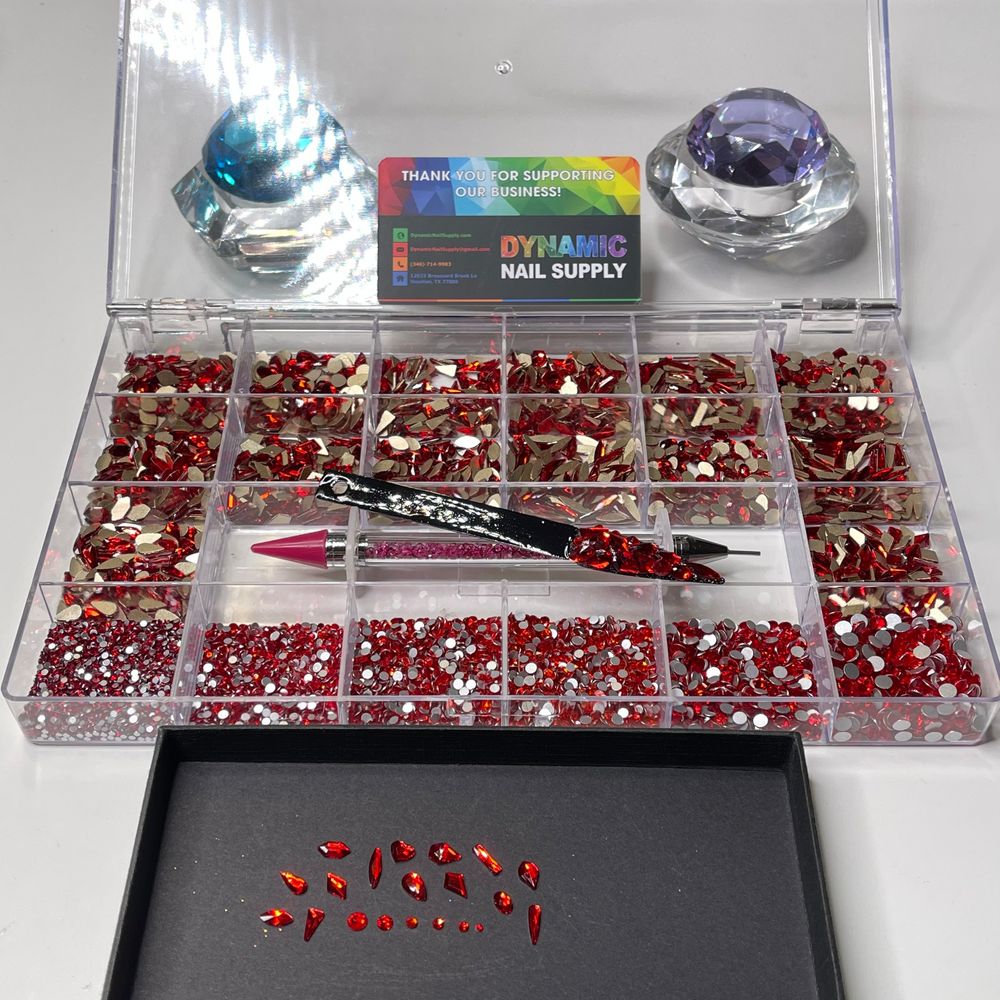
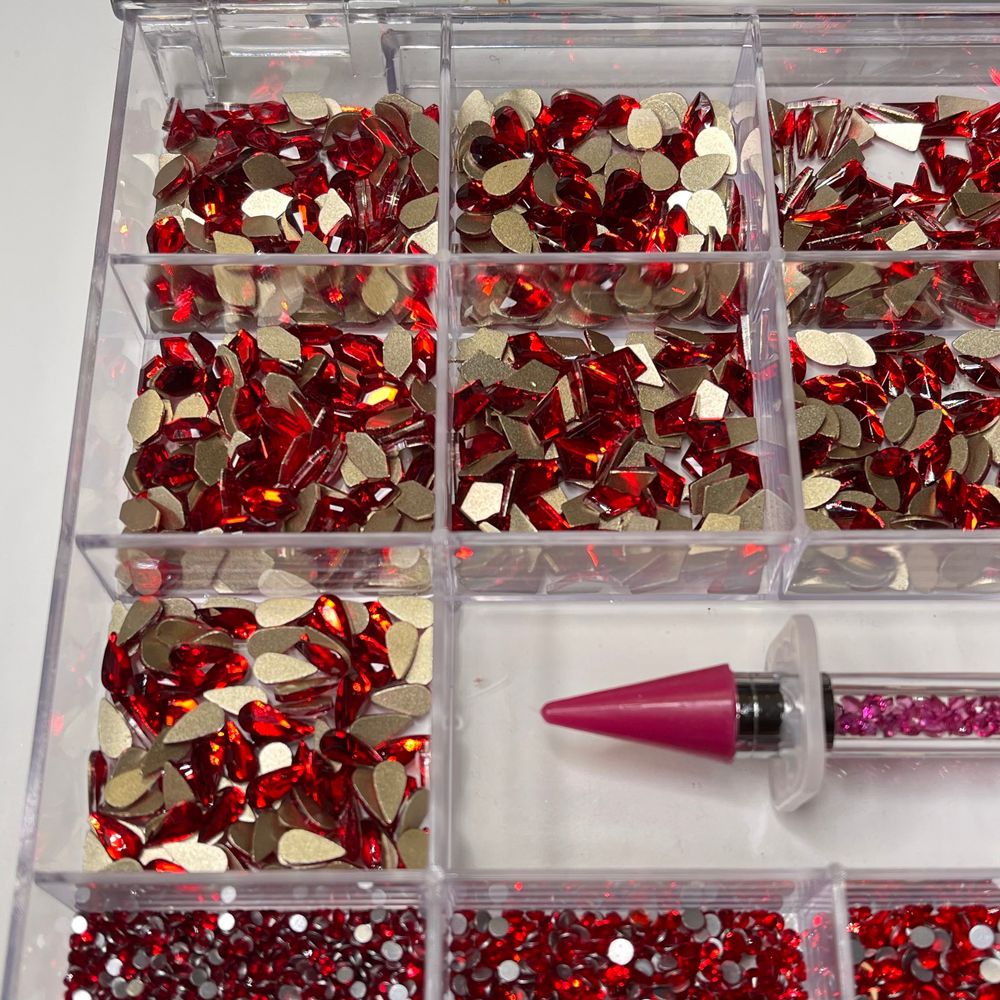
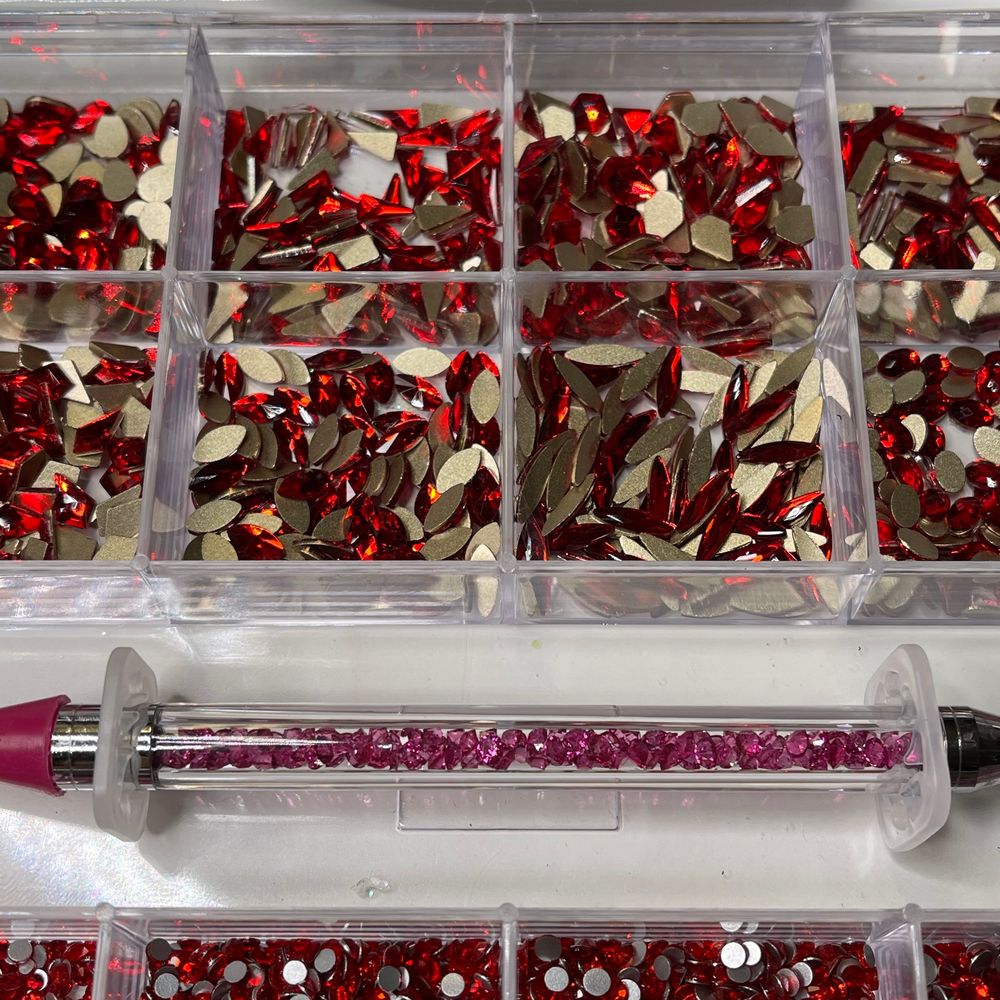
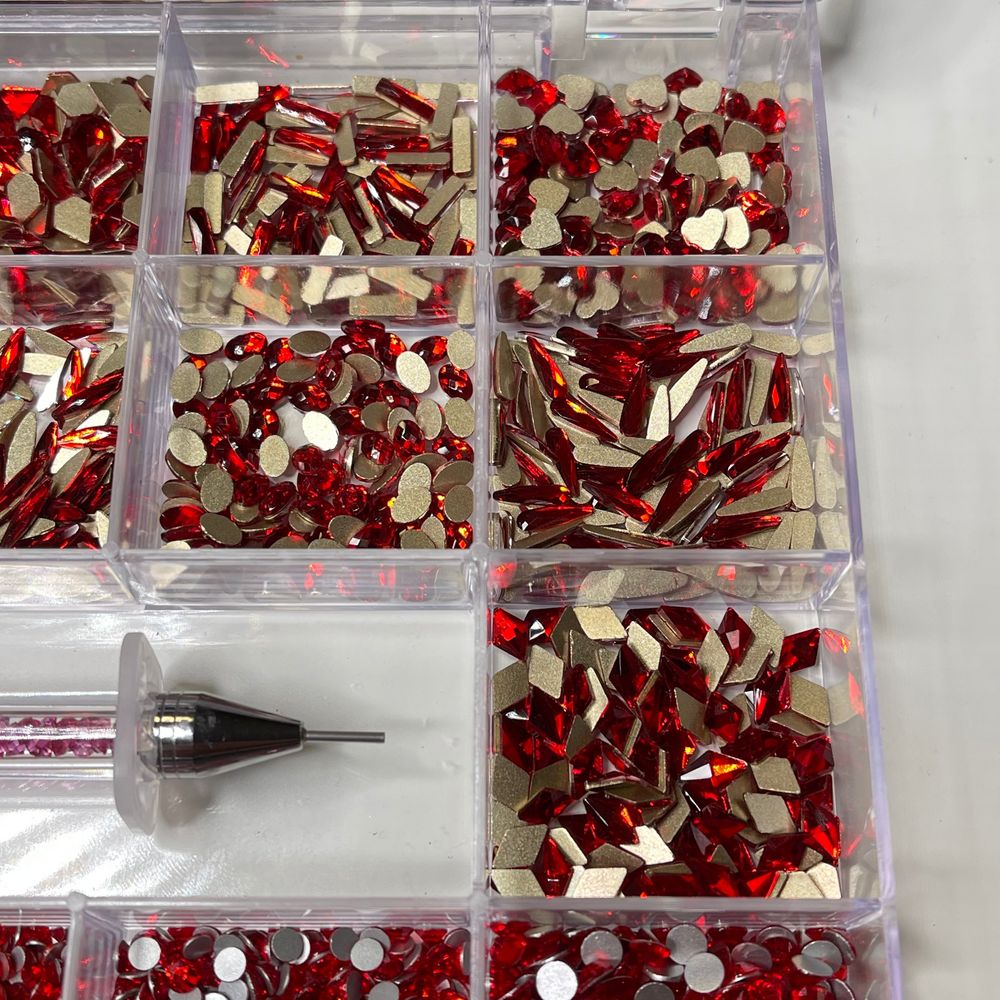
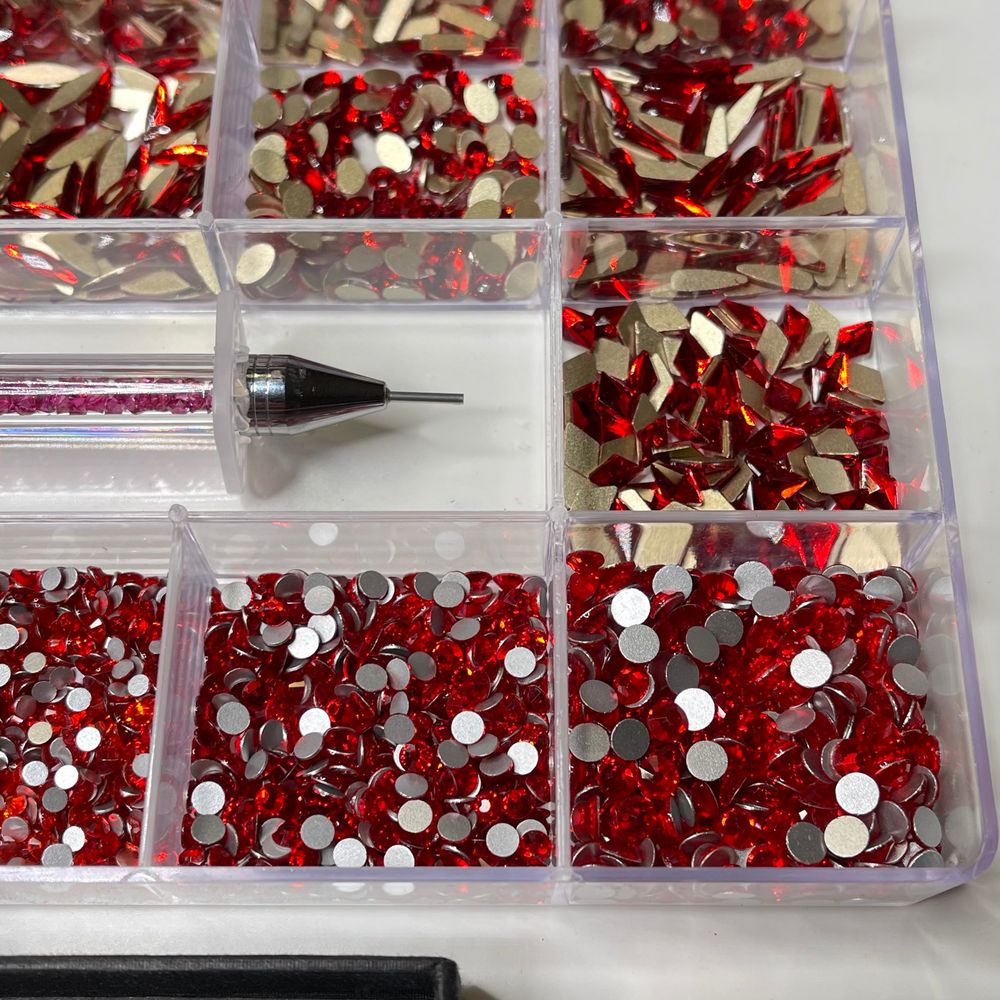
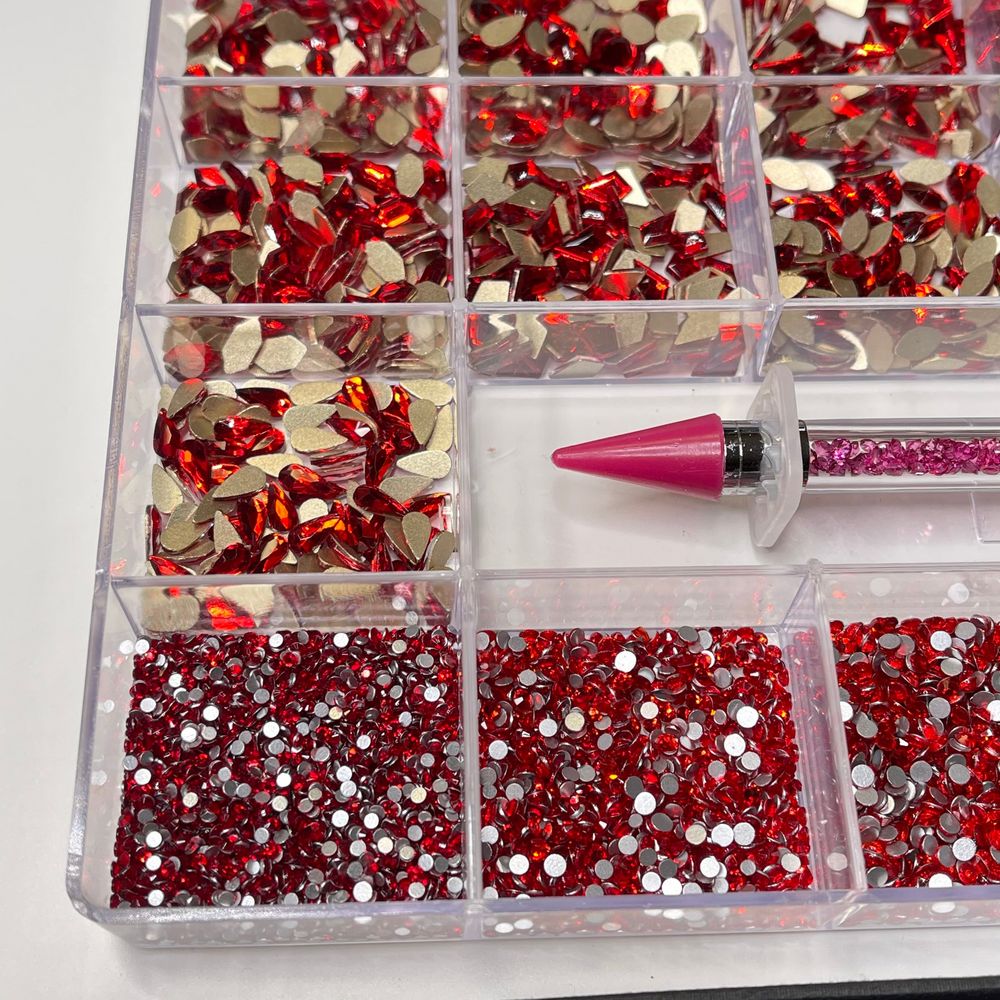
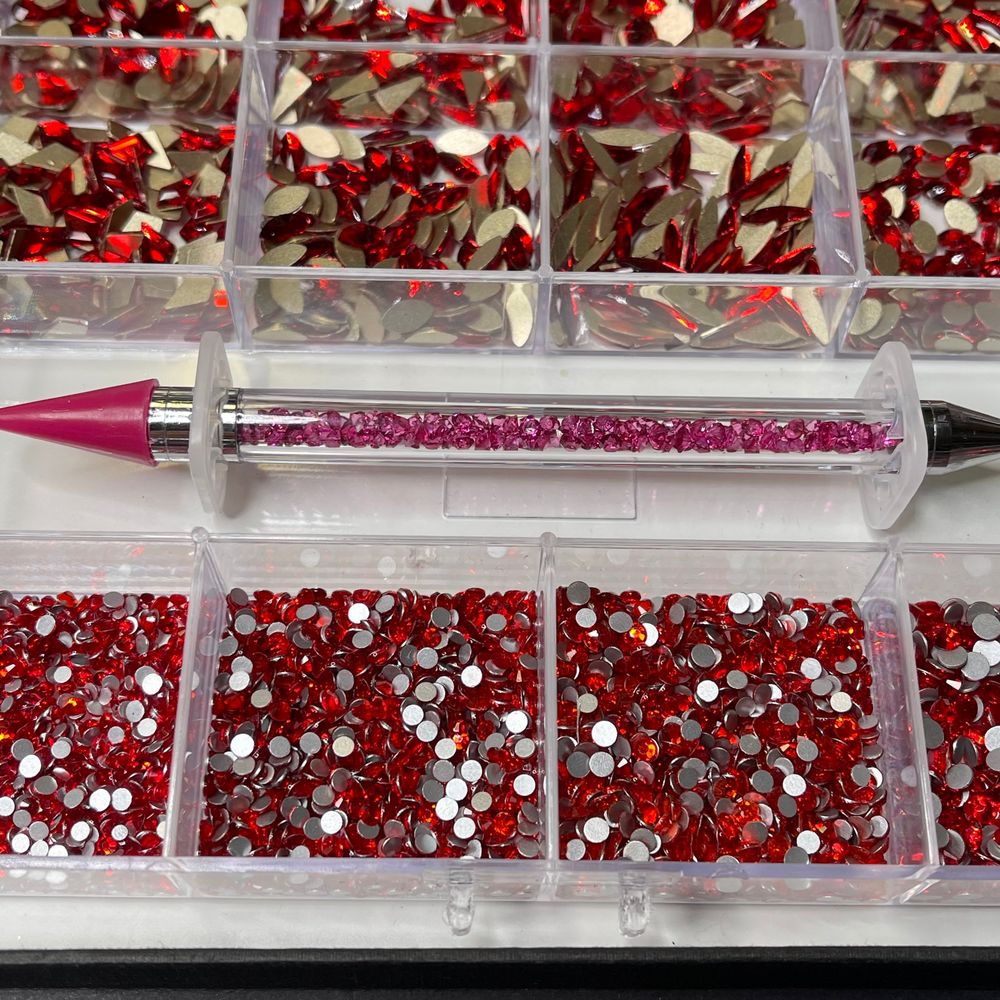
This multi-shape collection is built for variety and volume: it includes more than 1,400 larger decorative shapes and roughly 6,000 round crystals, across 20 distinct shapes. Specifically, there are 14 large shape types with over 100 pieces each and 6 round shape varieties with more than 1,000 pieces apiece. The kit ships in a clear acrylic box and includes one luxury picker pen for picking and placing stones.
Key features explained for beginners
- Multiple shapes: The mix of large shapes and rounds lets you create borders, focal accents, and scattered sparkle designs without buying separate packs.
- High counts: Thousands of stones mean you can practice and perform many full sets or refill salon trays.
- Picker pen included: The luxury picker pen speeds placement and reduces frustration compared with tweezers or toothpicks.
- Storage box: The clear acrylic box keeps shapes organized and visible so you can plan designs quickly.
Step-by-step: applying rhinestones like a pro
1. Prep and plan
Start with clean, shaped nails. Remove oils and dust using a cleanser or alcohol wipe, and apply your base color or builder product. Decide which nails will carry heavy embellishment and plan a rough placement layout on a practice nail tip or palette.
2. Choose your adhesive
For longevity use a product you already trust: nail glue for quick set applications or a gel topcoat cured under an LED/UV lamp for a longer hold. This set does not include adhesive, so have your preferred glue or gel ready.
3. Pick and place
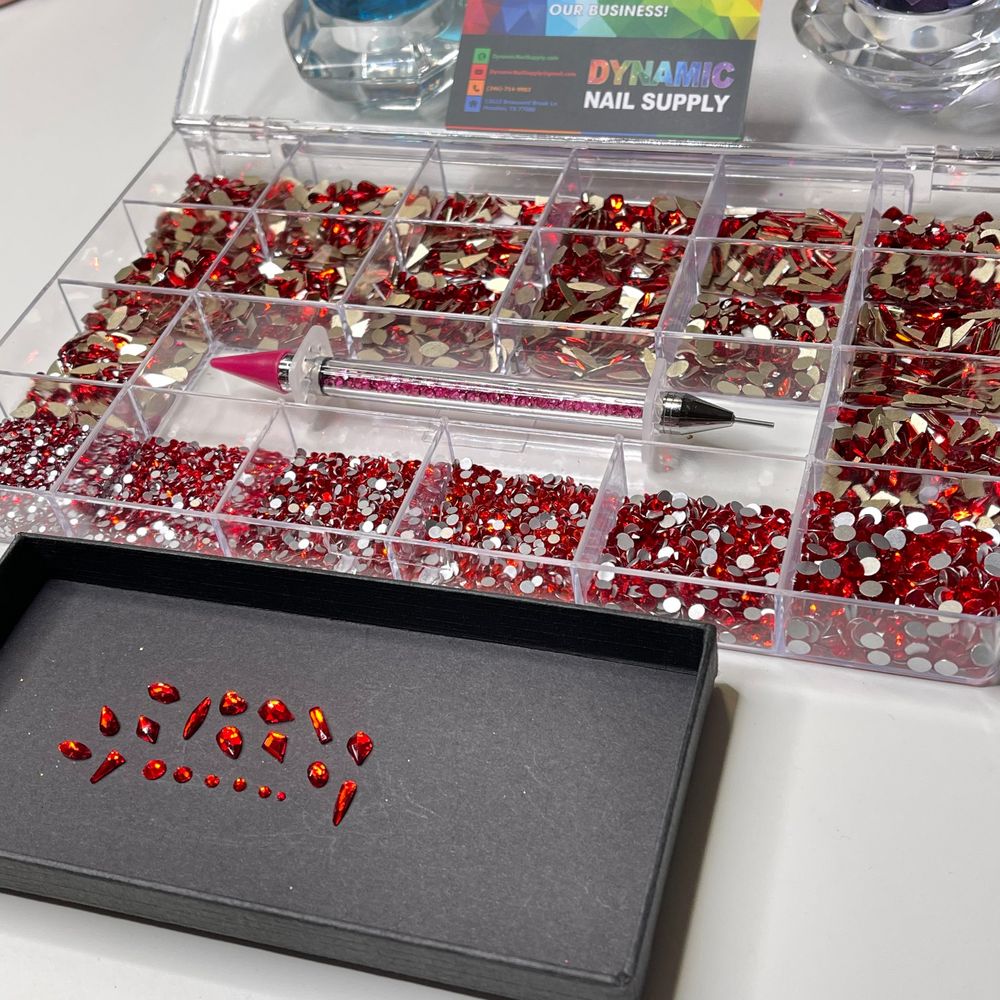
- Use the luxury picker pen to pick up a stone. If the stone doesn’t stick, press the pen tip lightly to pick it up again or dab a touch of tacky gel or adhesive on the pen tip first.
- Apply a small dot of adhesive to the nail, then carefully position the crystal.
- Work one nail at a time. For complex arrangements, place the largest shapes first, then fill around them with round crystals to create balance.
4. Secure and finish
If using glue, allow it to set fully before finishing. If using gel, encapsulate or topcoat around stones and cure according to your product instructions, taking care not to flood stones if you want visible facets.
Practical tips and common beginner mistakes
- Less is more: Start with an accent nail or two rather than covering every nail; it’s easier to learn placement and symmetry on fewer nails.
- Test the layout dry: Arrange stones on a sticky note to preview patterns before committing with glue.
- Use the right amount of adhesive: Too much glue can spread and dull the crystal’s shine; too little will allow the stone to shift.
- Keep tools clean: Wipe the picker pen occasionally to remove excess adhesive so stones keep picking up cleanly.
Who this set is best for
This is an excellent kit for nail-art beginners who want a wide range of red crystal shapes to practice with, nail technicians stocking salon trays, or hobbyists planning seasonal looks (especially holiday and Valentine’s designs). The high piece counts make it especially useful if you teach, kit nails for events, or enjoy repeated practice sessions.
Care, storage, and safety notes
- Store stones in the included clear acrylic box to keep shapes separated and visible.
- Avoid ingesting rhinestones and keep them away from young children and pets.
- When using adhesives, work in a well-ventilated area and follow manufacturer safety instructions for the glue or gel you choose.
- Replace or clean the picker pen tip if adhesive buildup begins to interfere with picking accuracy.
Where to buy and value
The set is sold with a generous number of pieces and the added convenience of a picker pen in a clear acrylic box, making it a solid value for repeated practice and salon use. It is currently priced at $75.00; prices may change. You may find this and other color variations through professional suppliers, including Dynamic Nail Supply.
Final thoughts
For a beginner, a large, organized kit that includes a placement tool removes many of the early frustrations of rhinestone nail art. Use the steps above, start with simple accents, and practice arranging shapes dry before gluing. With patience and the right adhesive, the red crystals in this set will let you create bold, professional-looking designs.
