
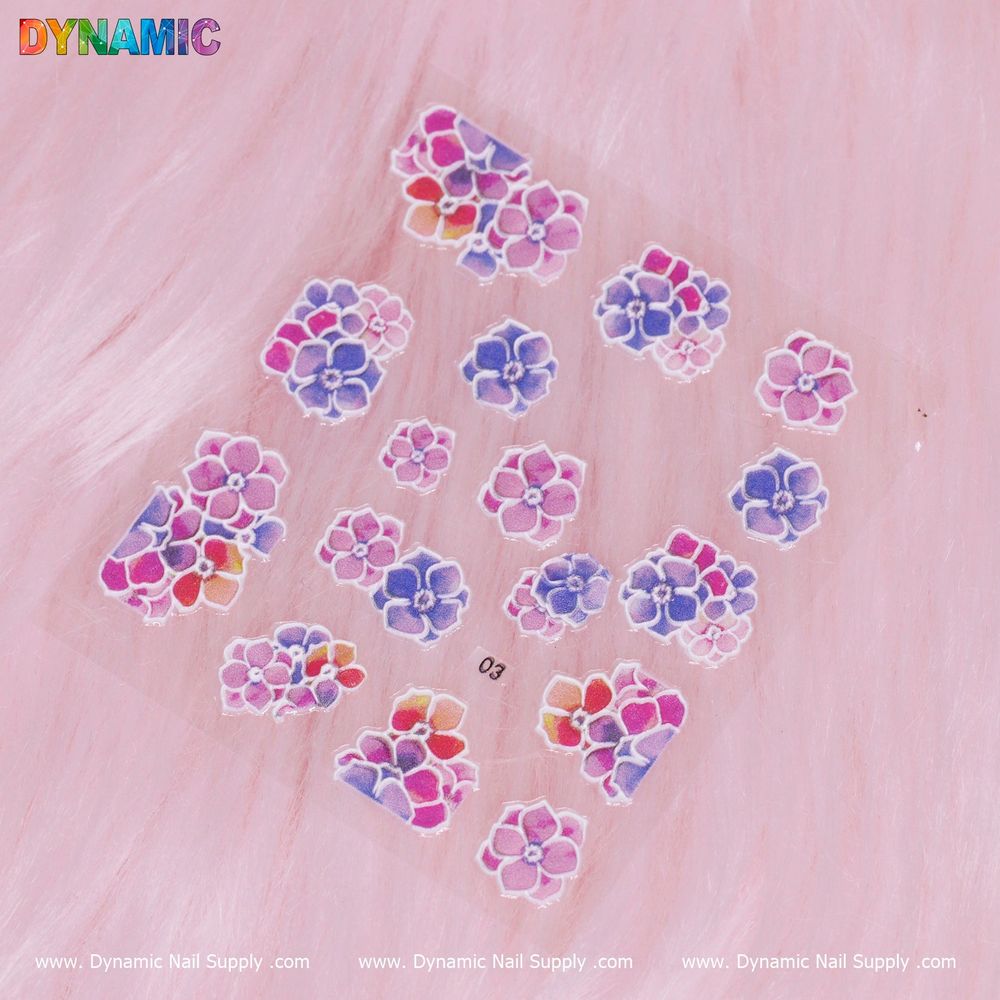
Flower nail stickers are an inexpensive, low-effort way to add floral accents to manicures. For beginners they remove the need for freehand painting while delivering a polished, decorative finish. This guide defines common terms, walks you through a safe, repeatable application, and covers basic care so your nail art looks tidy longer.
What are flower nail stickers?
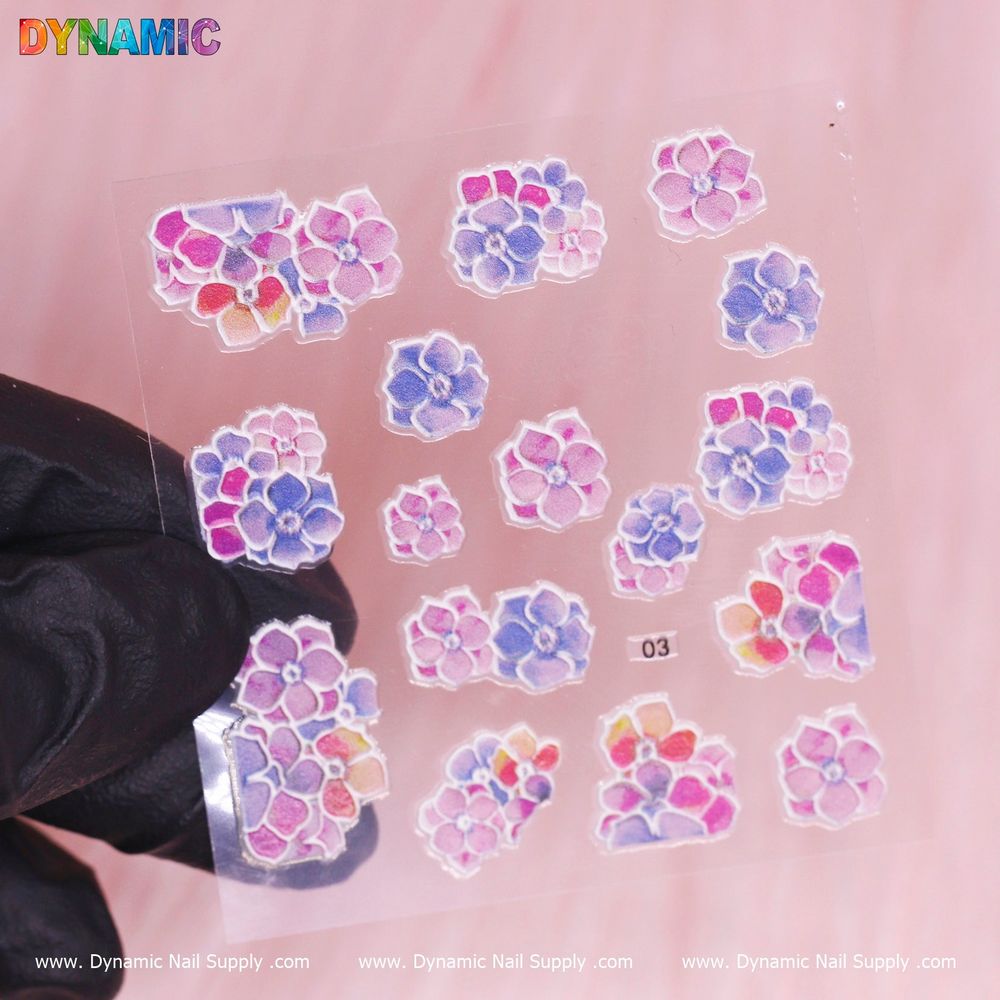
At their simplest, these are small decals designed specifically for nail art decoration. They sit on top of the nail surface and are sealed with a top coat. Because they’re ready-made designs, flower nail stickers let you add delicate blossoms and floral motifs without advanced brush skills.
Essential terms to know
- Sticker/decal: the decorative piece you press onto the nail.
- Base coat: a protective polish applied before color or stickers.
- Top coat: the final seal that protects the sticker and adds shine.
- Edge smoothing: the process of flattening sticker edges so they don’t lift.
Step-by-step application for beginners
Below is a straightforward routine that works with regular nail polish. You can adapt it for gel systems by substituting gel base/top coats and curing between steps.
- Prep the nail: clean nails of oils and old polish, push back cuticles gently, and file to desired shape.
- Apply a base coat: a thin base coat evens the surface and protects the natural nail.
- Paint color (optional): let your chosen polish dry fully if you want a colored background.
- Position the sticker: remove the sticker from its backing and use tweezers or a wooden stick to place it where you want it. Press gently from center out to avoid air pockets.
- Smooth the edges: rub the sticker gently with a fingertip or an orange stick to remove any lifted edges.
- Seal with a top coat: apply one or two layers of top coat over the whole nail, extending over the tip to lock the sticker down.
- Finish and clean up: wipe any top coat overflow at the cuticle line and let nails dry completely.
Quick tips to get a professional look
- Trim or trim the sticker with small scissors before placing it if it’s larger than the nail bed.
- If a sticker wrinkles, gently lift and reposition it quickly; stickers are easiest to move before the top coat is applied.
- Use thin layers of top coat—thick layers can bubble and take much longer to dry.
- For a glossy, salon finish, apply two thin top-coat layers, letting the first dry slightly before the second.
Common mistakes and how to avoid them
- Applying too soon: placing stickers on tacky polish can trap air and cause lifting—ensure polish is dry.
- Overhandling the sticker: touching the adhesive side reduces stickiness. Use tweezers for placement.
- Skipping the top coat: this is the most common reason stickers peel off quickly—always seal the edges.
Key features in context
These floral decals are ideal as small accents or full-nail motifs. Because they are ready-made, they save time and reduce the skill barrier for decorative nails. They pair well with solid polish backgrounds, gradient bases, or layered nail art. Because the sticker itself is the decorative element, the rest of the manicure can stay simple while still looking curated.
Who should use flower nail stickers?
Flower nail stickers are great for beginners, hobbyists, busy people who want style without a long salon visit, and pros who need quick add-ons for manicures. They’re also suited to seasonal looks or event-specific accents when you want a floral theme without committing to detailed painting. If you’re price-conscious, note that single stickers and small packs are an economical way to refresh looks frequently—this product is listed at $2.00 but prices may change.
Care and safety notes
- Keep nails dry for a short time after applying the top coat to ensure proper adhesion.
- If you have sensitive skin or a history of allergic reactions to nail adhesives or polishes, test one sticker on a single nail first and wait 24 hours.
- Remove stickers gently with nail polish remover or by soaking; avoid peeling forcefully to prevent nail damage.
Where to buy and final thoughts
If you want to try this simple floral accent, visit the product listing for Nail Sticker flower. Small and versatile, flower nail stickers make it easy to achieve delicate botanical looks without advanced technique. For more craft and supply options, check trusted sellers—this item is available through Dynamic Nail Supply.
With basic prep and a steady hand, flower nail stickers give beginners a fast route to attractive, salon-style nails. Keep a few on hand for instant personalization or last-minute styling—once you master the placement and sealing steps, you can create consistent, charming floral nail art in minutes.
