
Small accents can transform a simple manicure into a statement. If you’re new to 3D embellishments, this guide explains what 3D butterfly nail charms are, how to apply them, and how to make them last—using a 20-piece set designed for creative nail designers and DIY fans.
What are 3D butterfly nail charms?
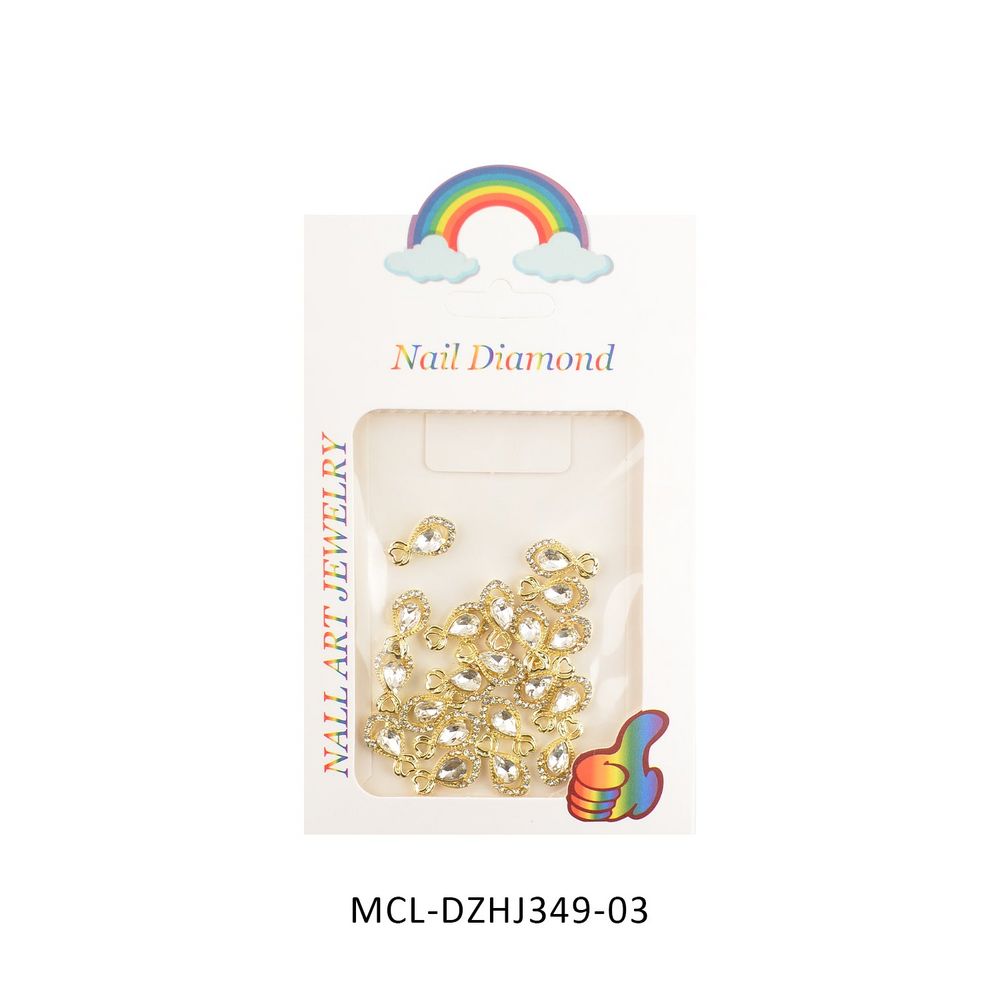
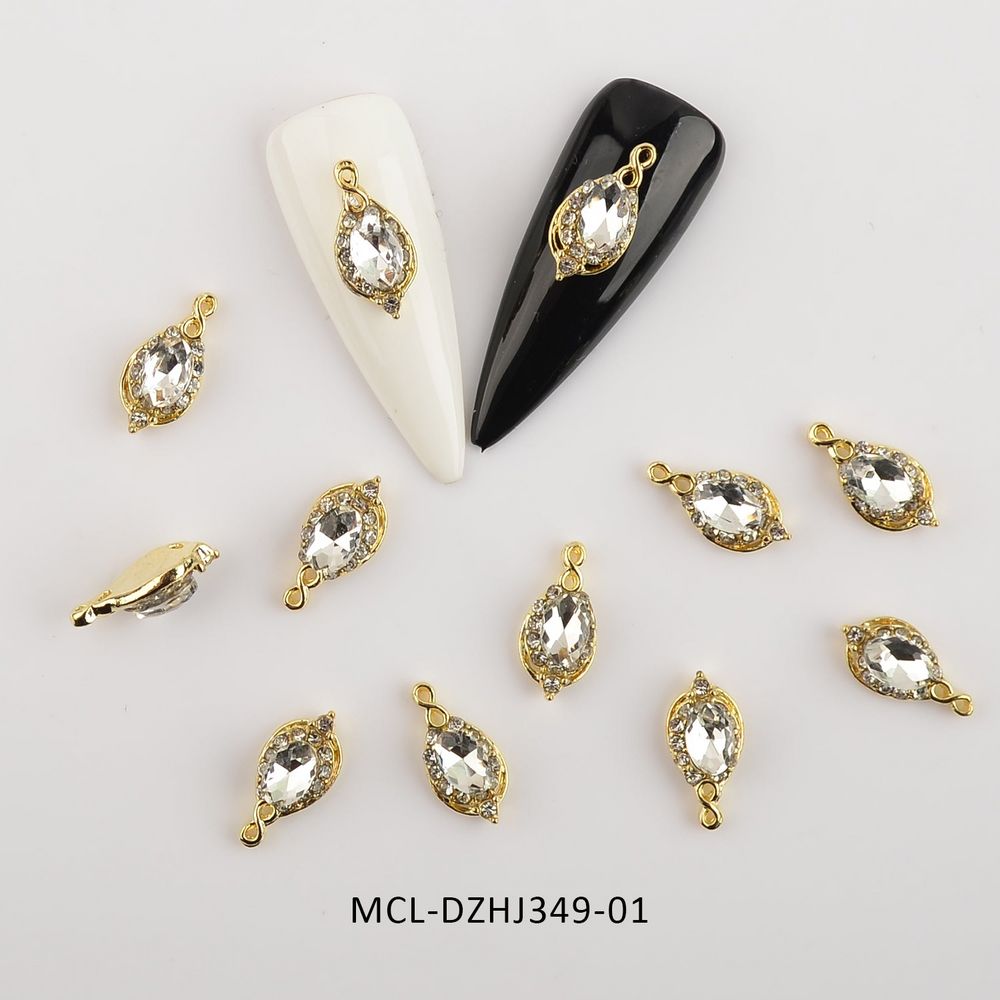
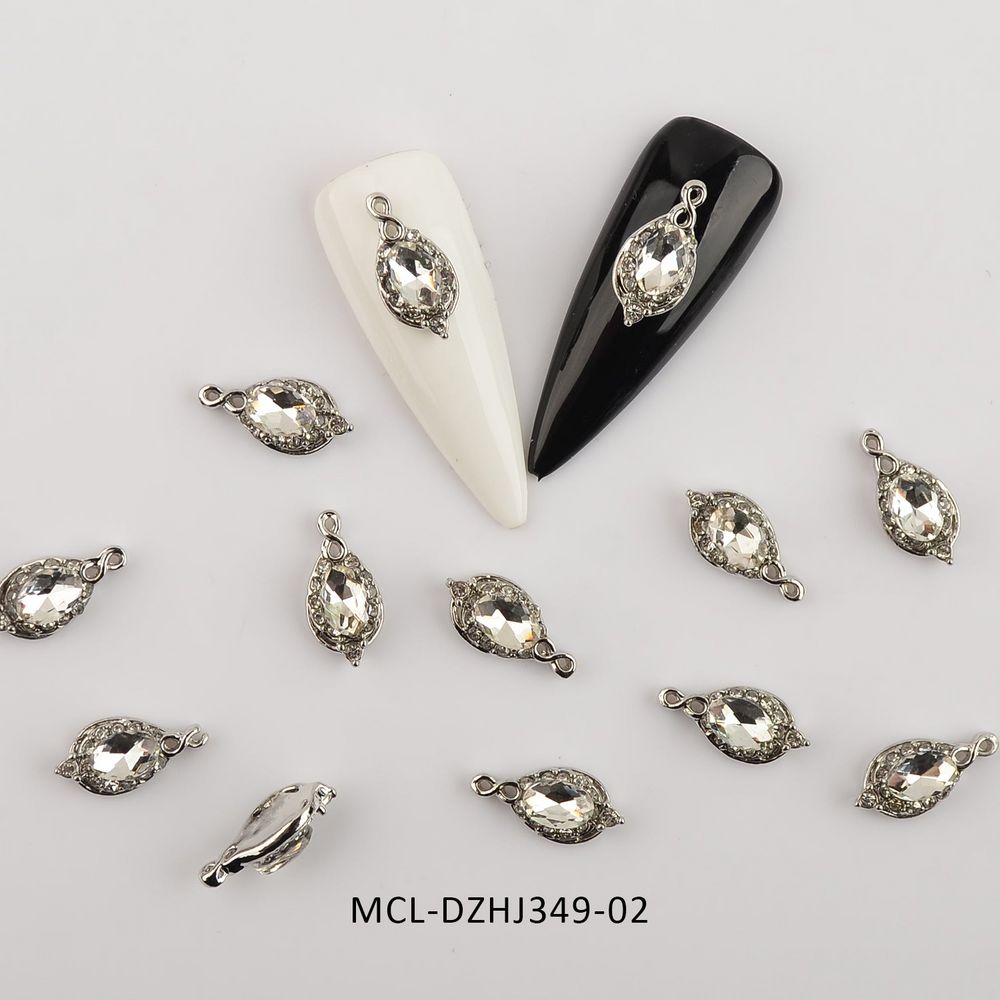
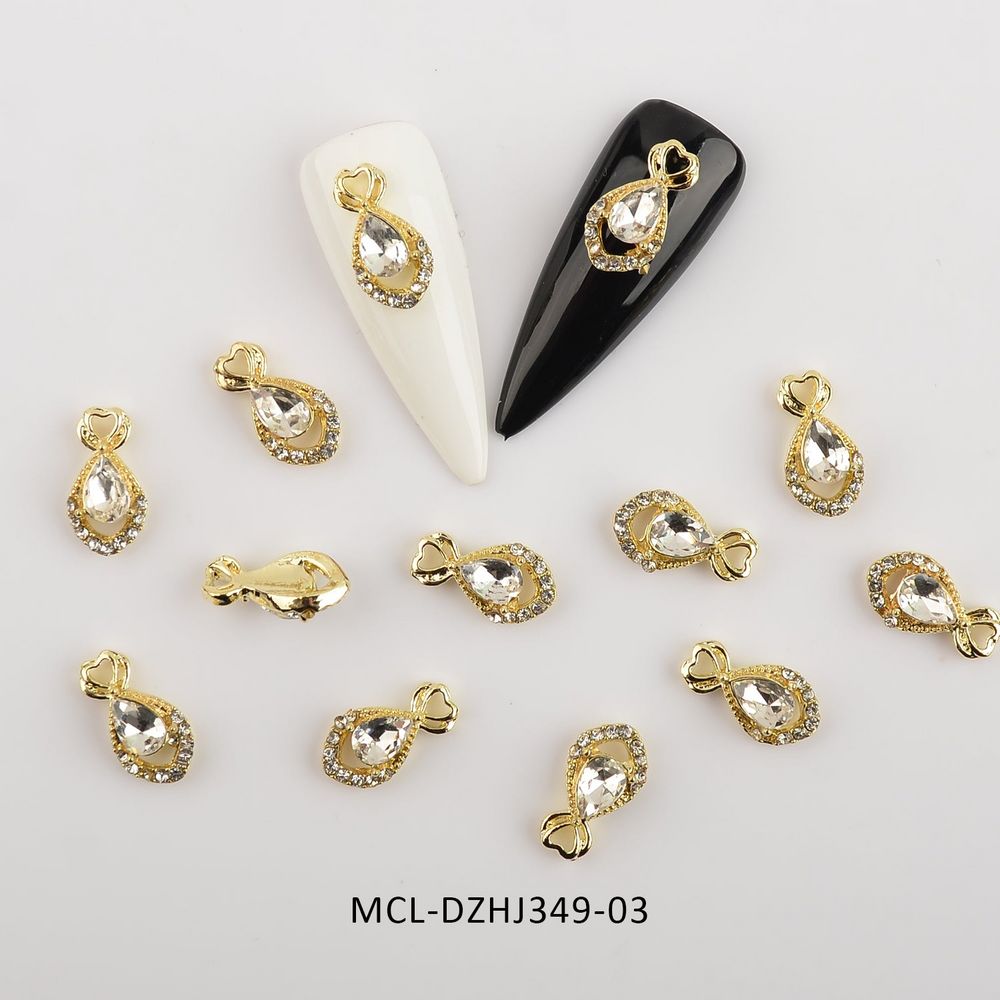
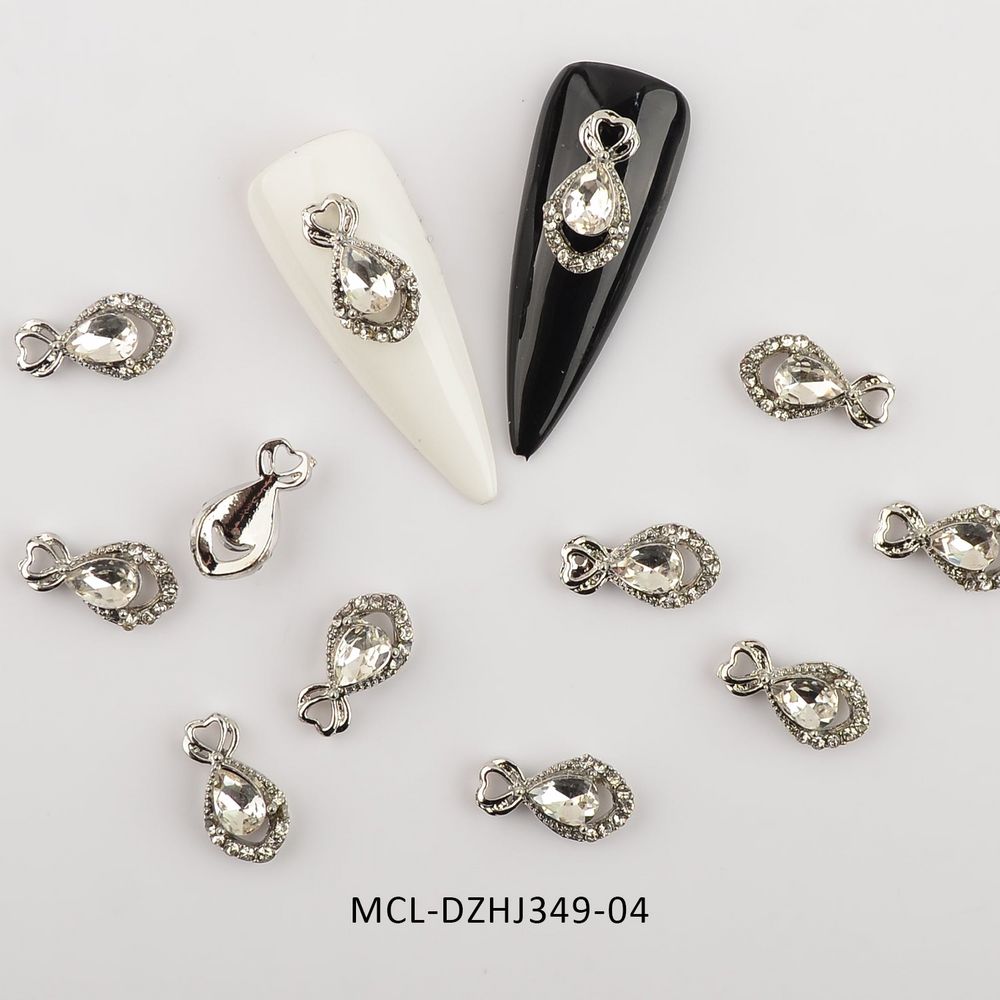
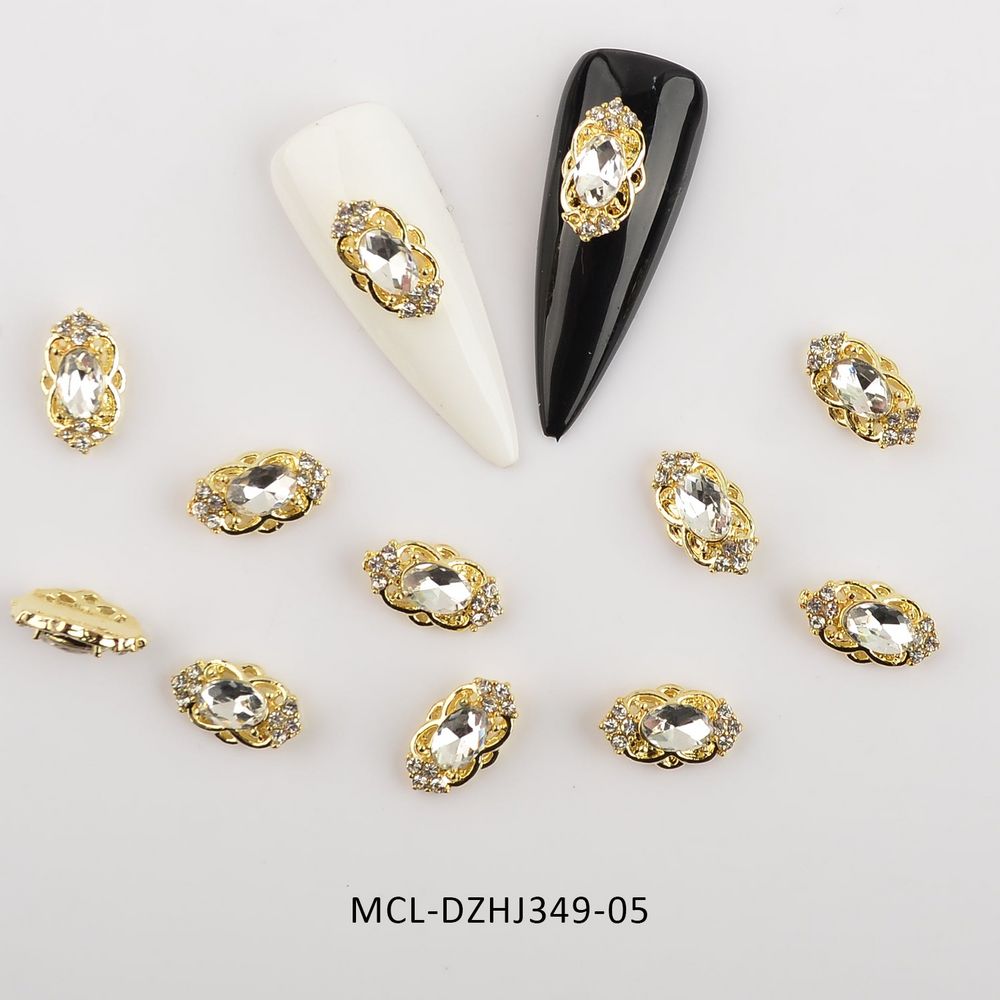
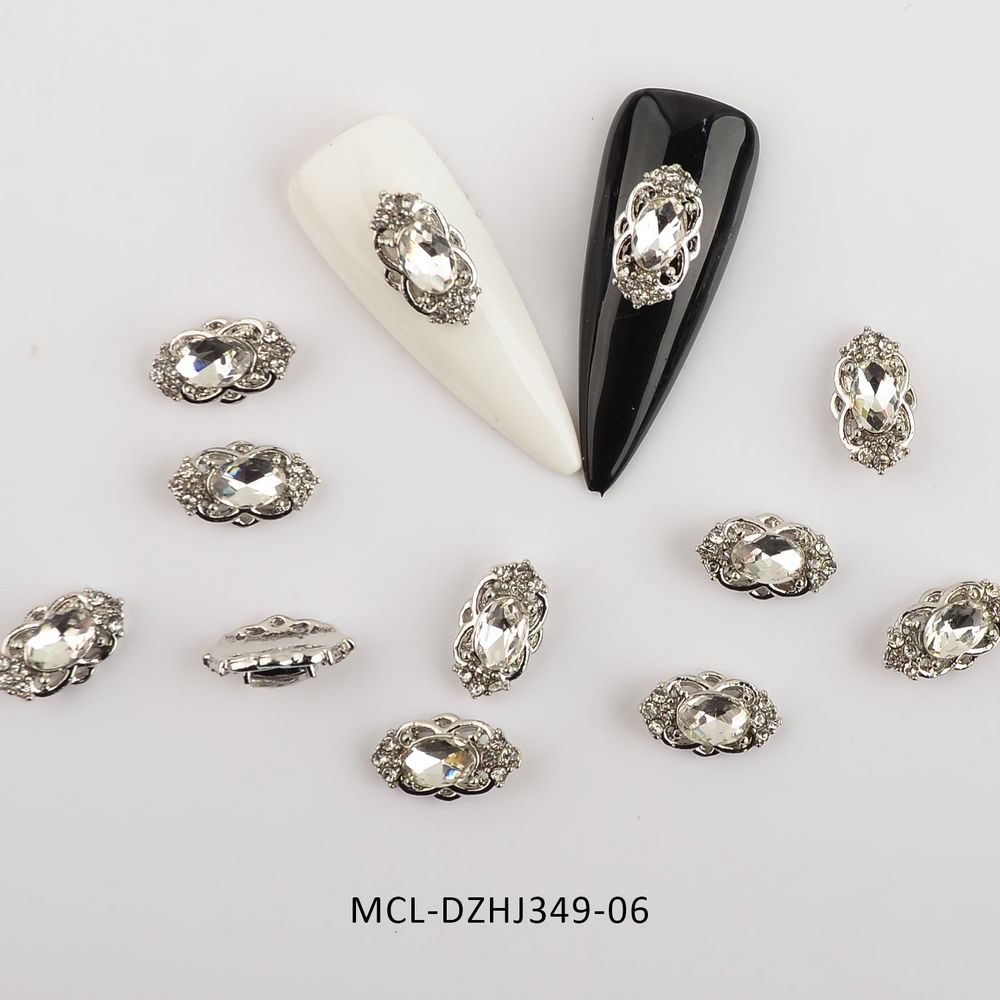
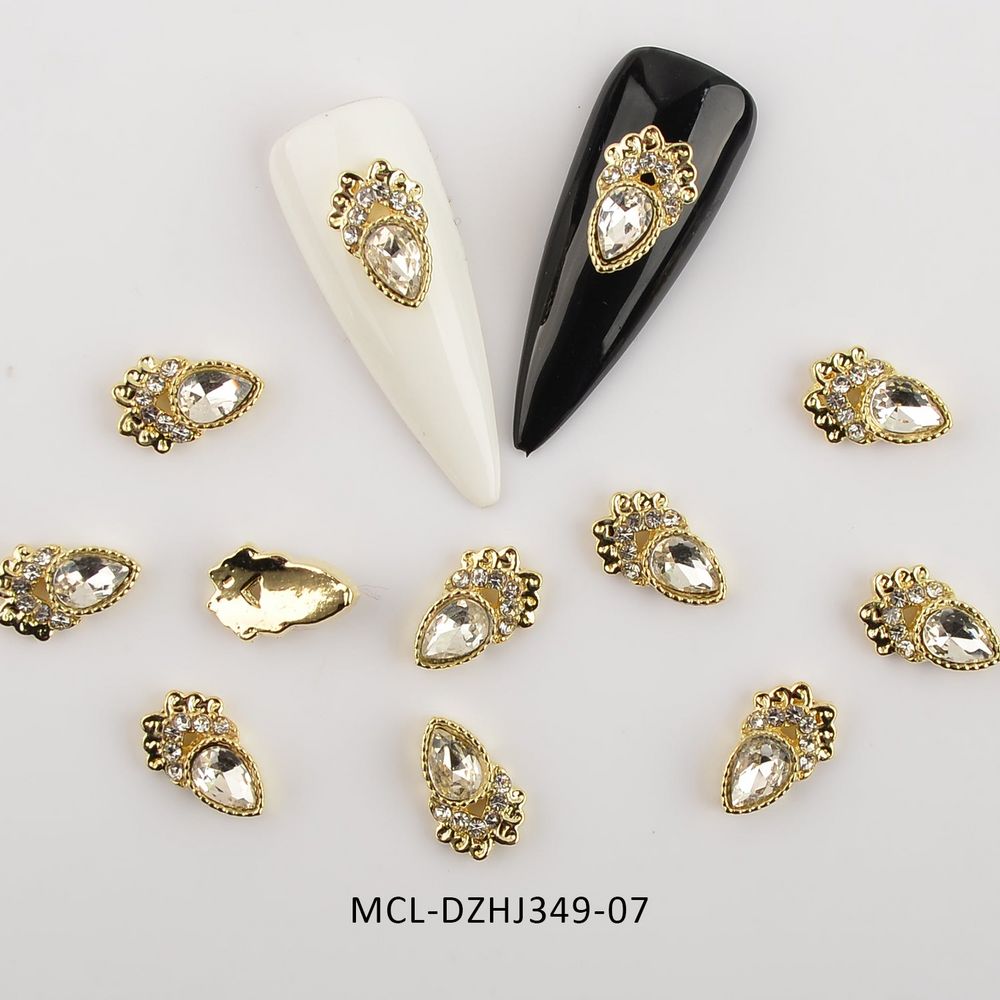
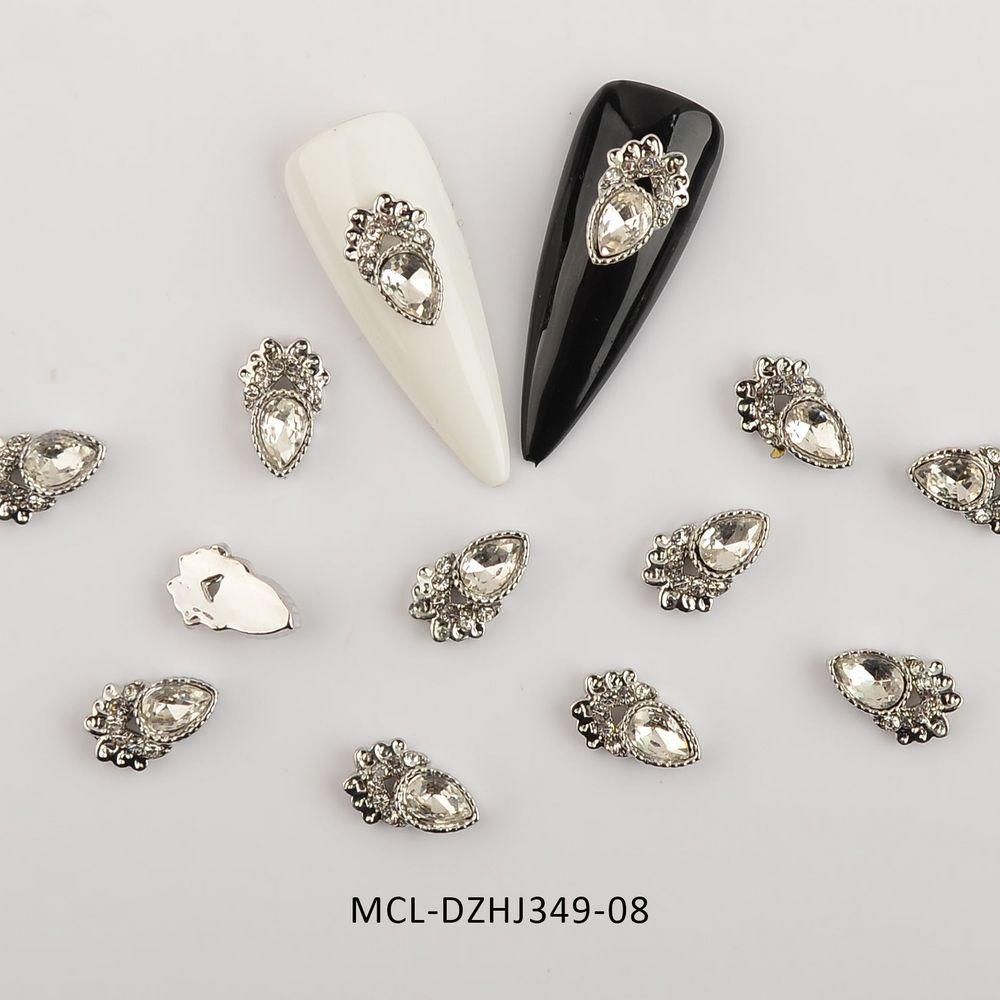
3D butterfly nail charms are tiny decorative elements shaped like butterflies (and other unique silhouettes) that sit above the nail surface to add texture and dimension. They’re often called charms, dangles, or luxury nail accents and come in metallic or colored finishes to complement gel, acrylic, and regular polish.
Quick facts to know before you start
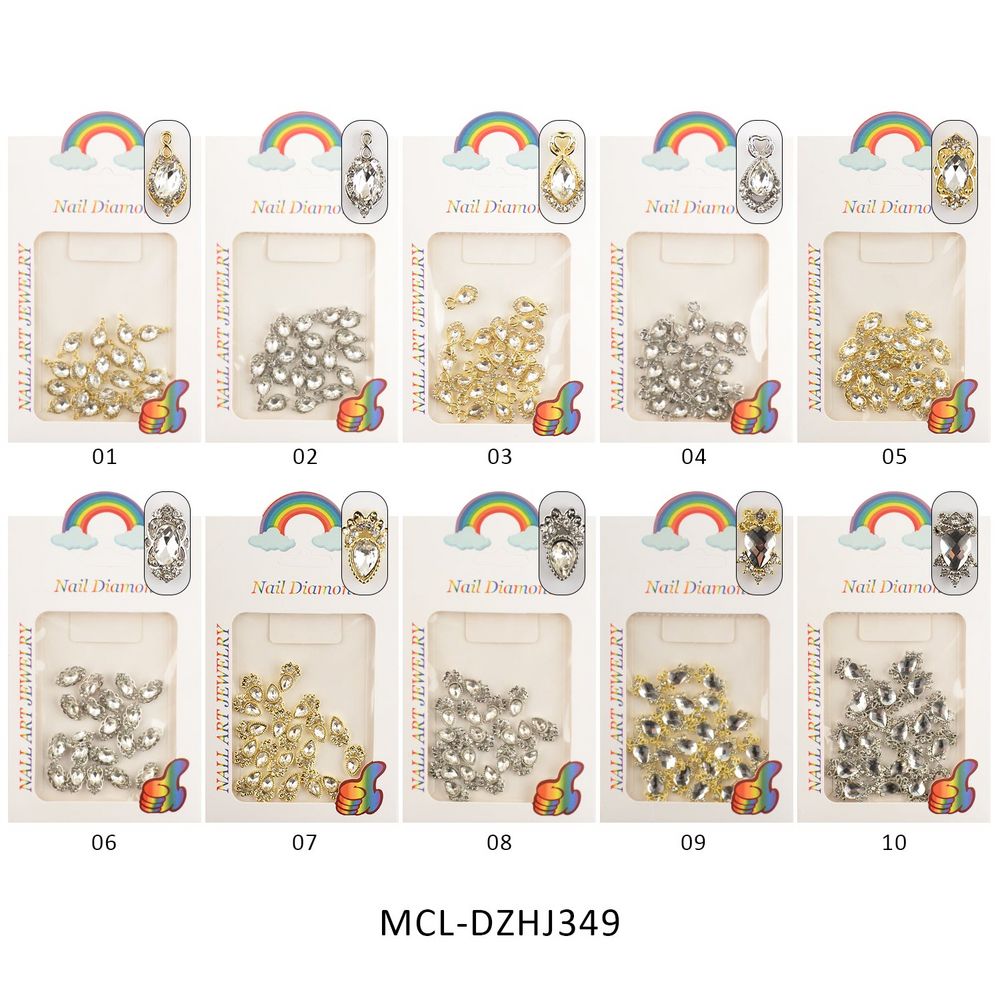
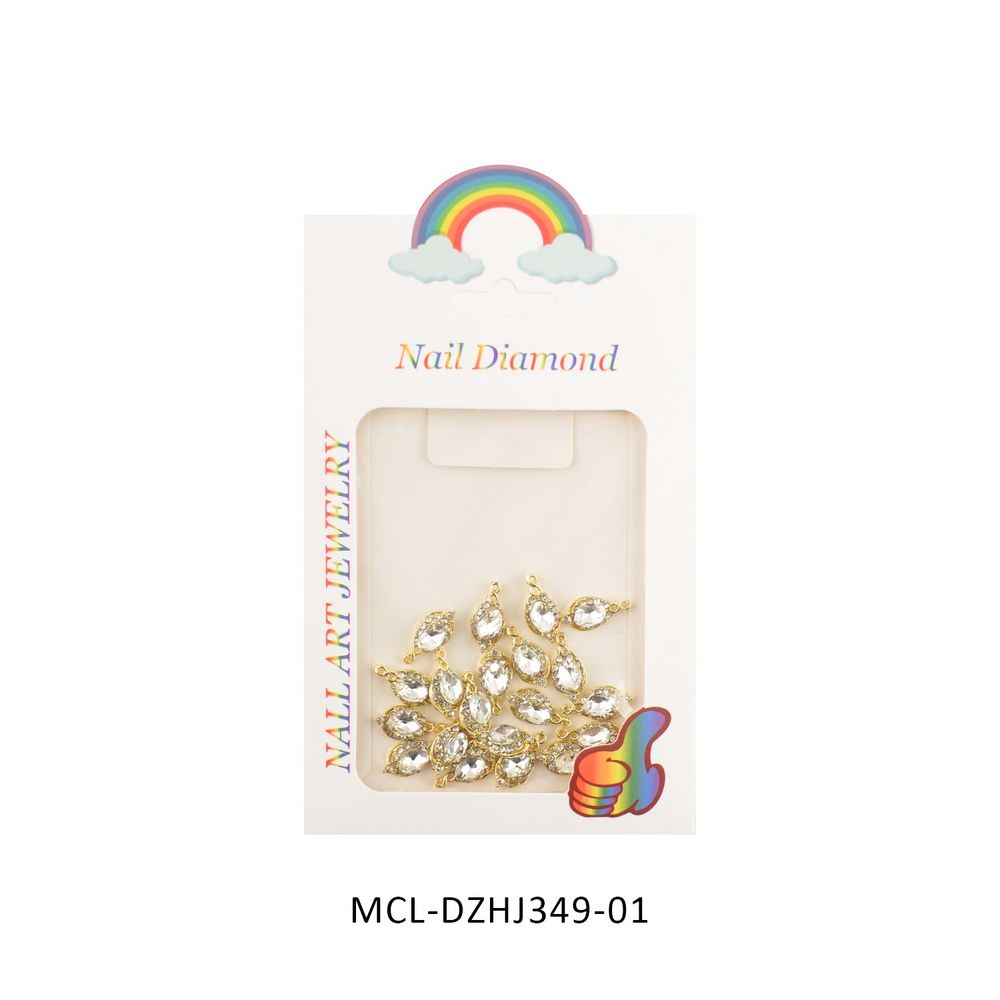
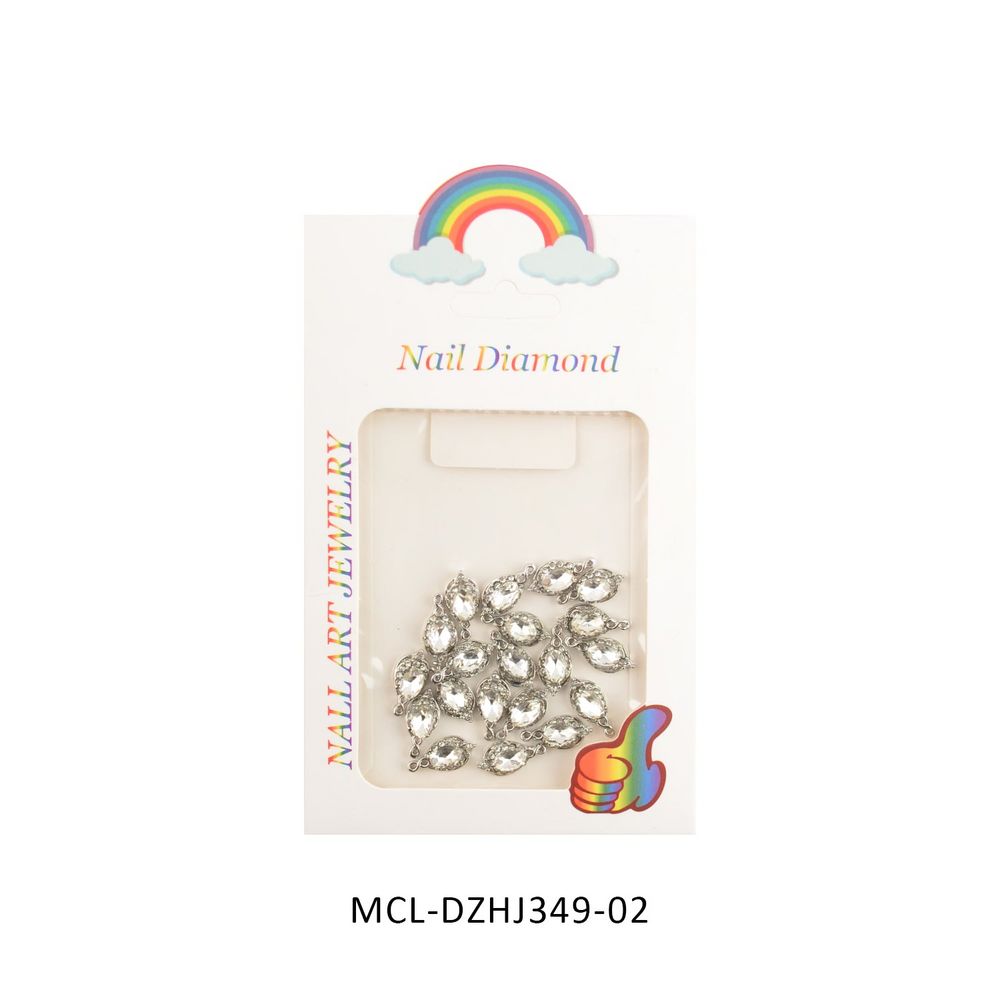
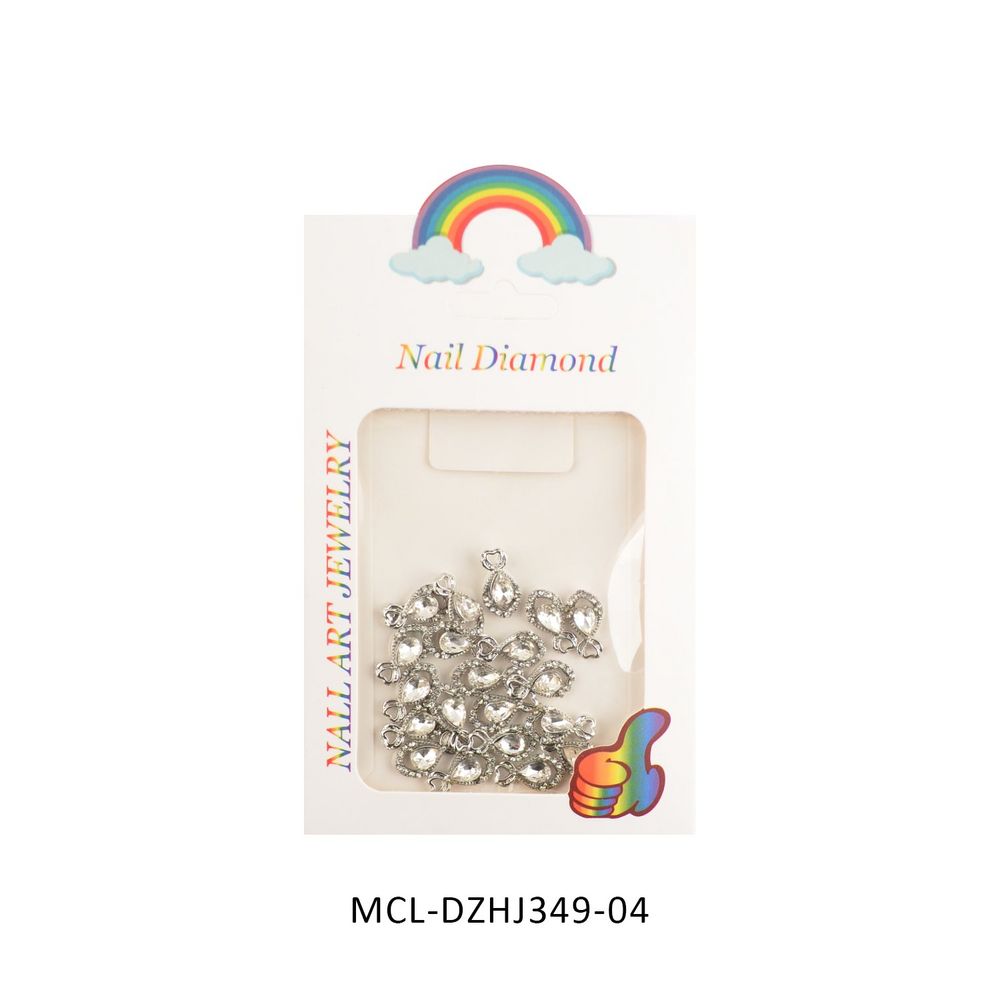
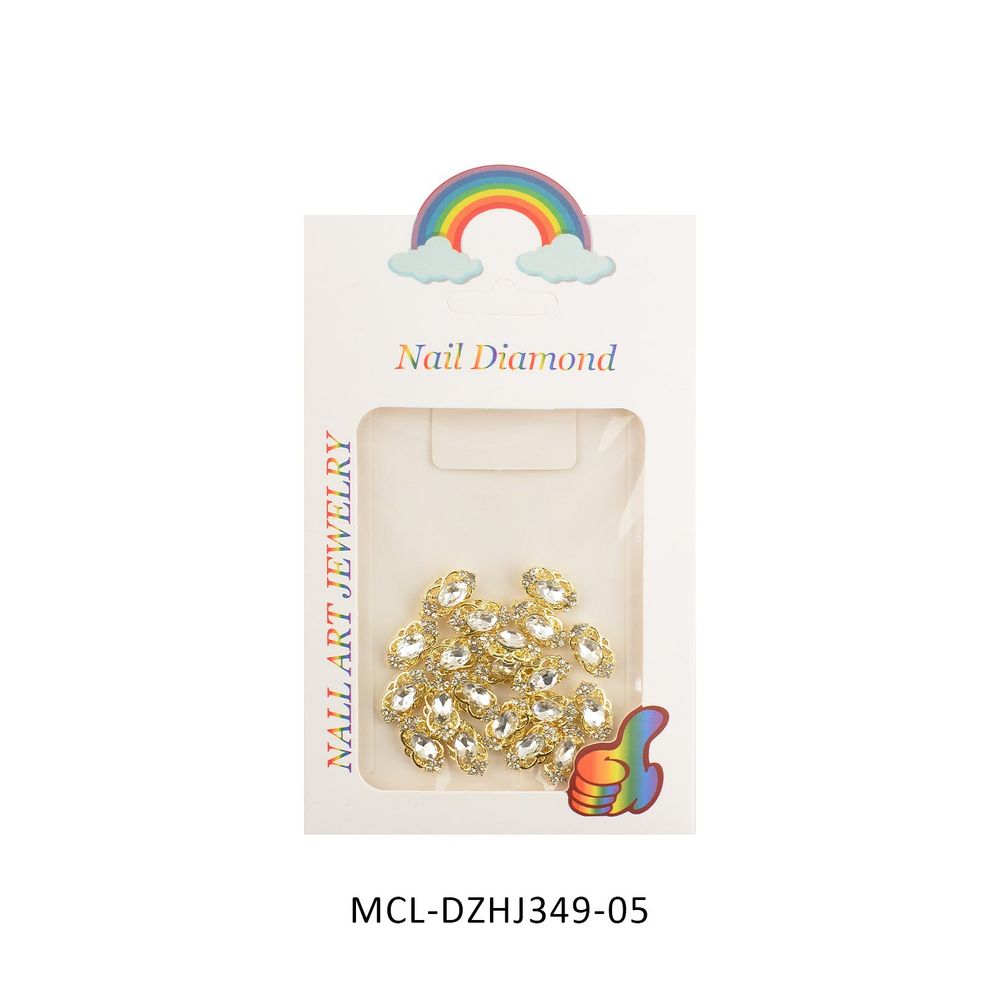
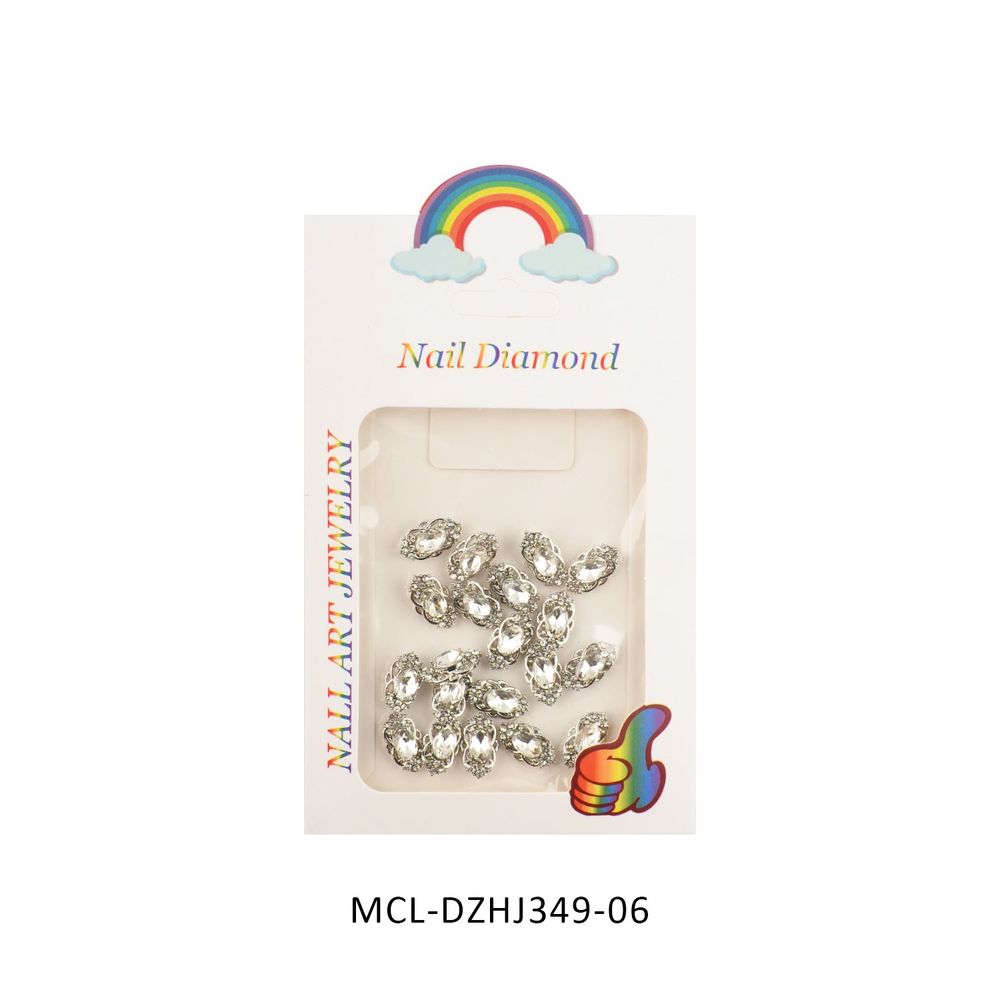
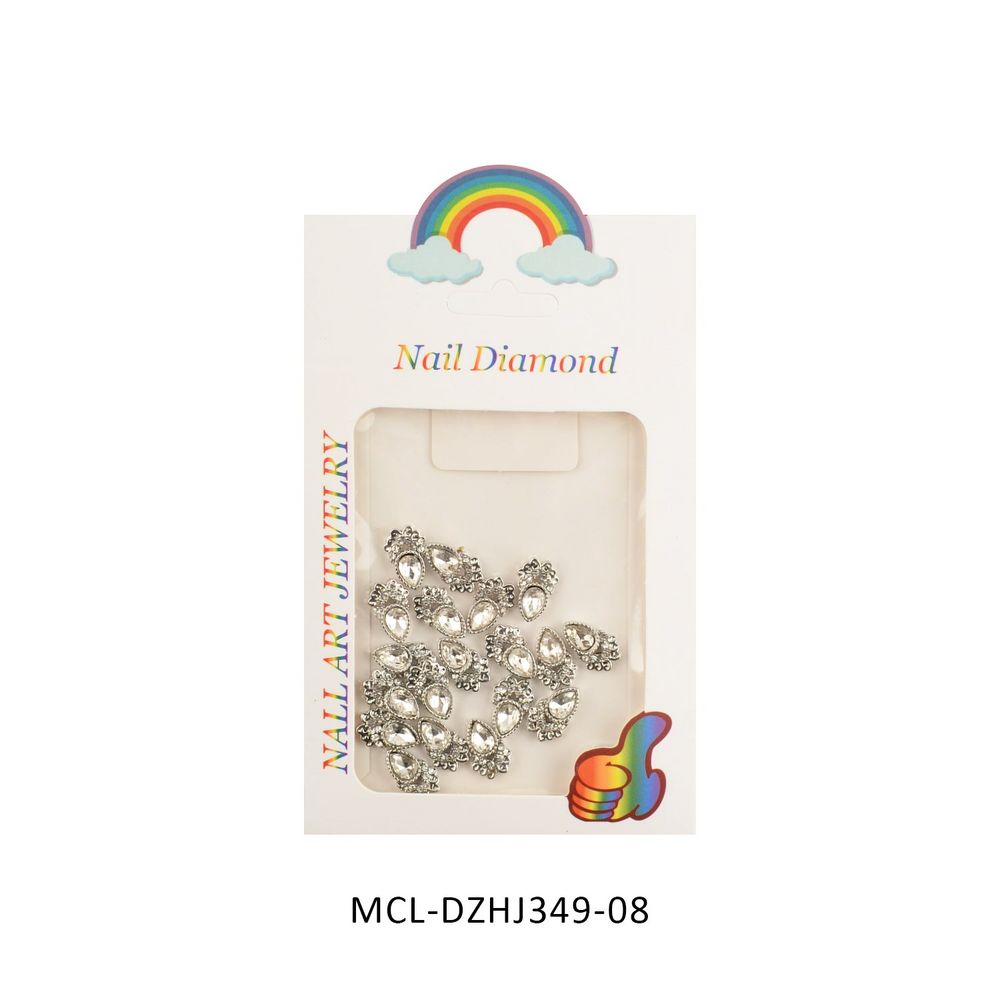
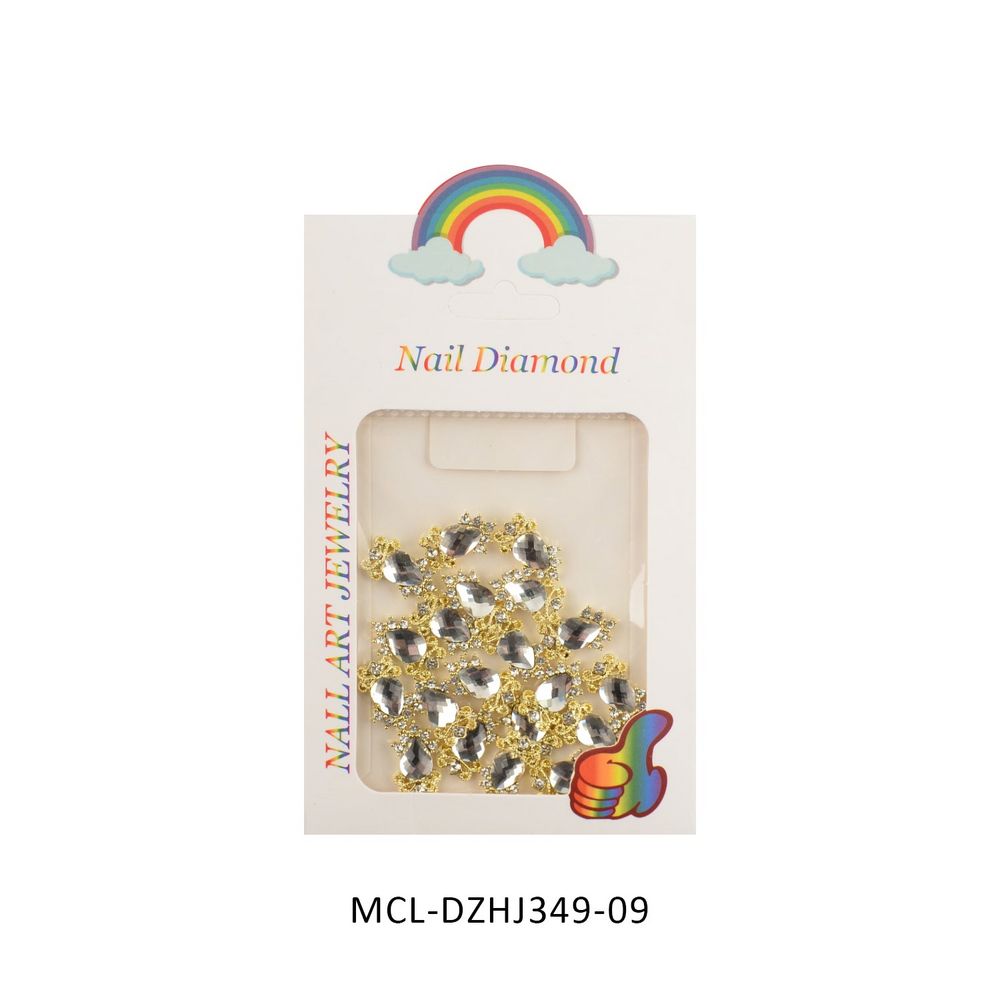
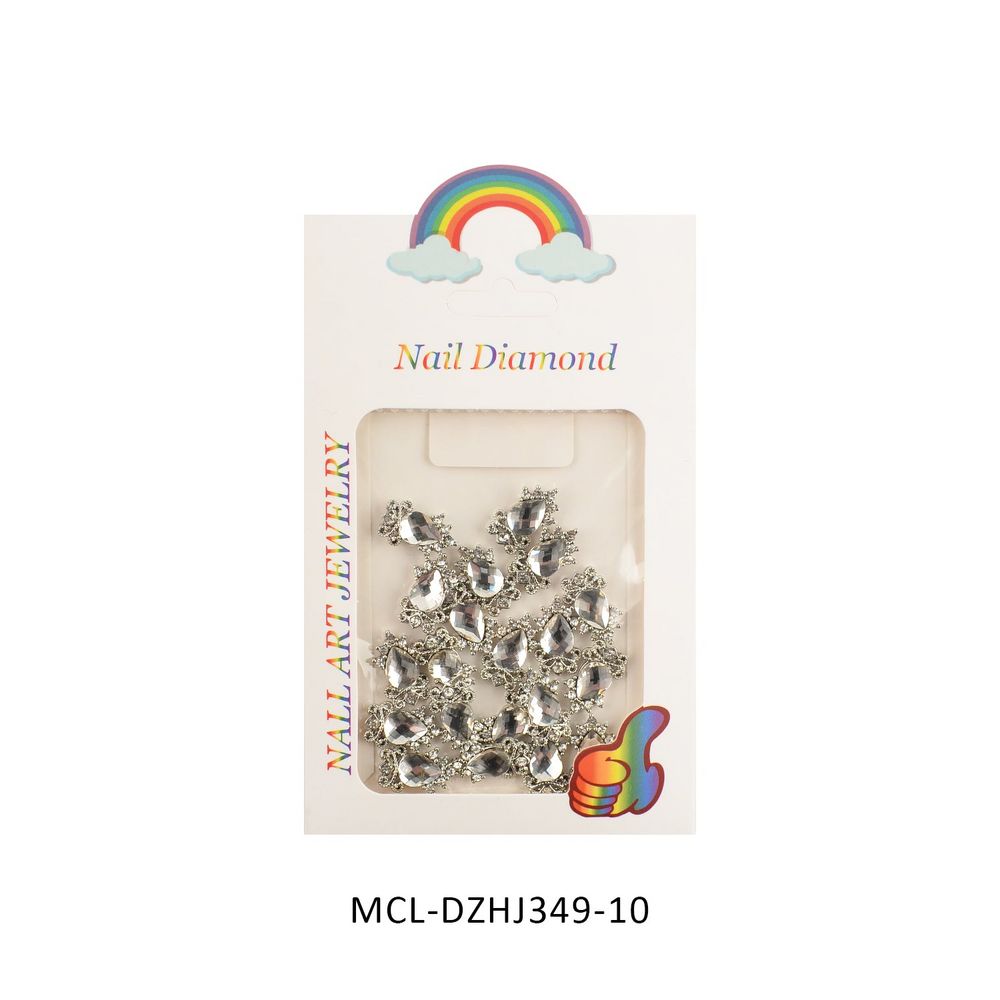
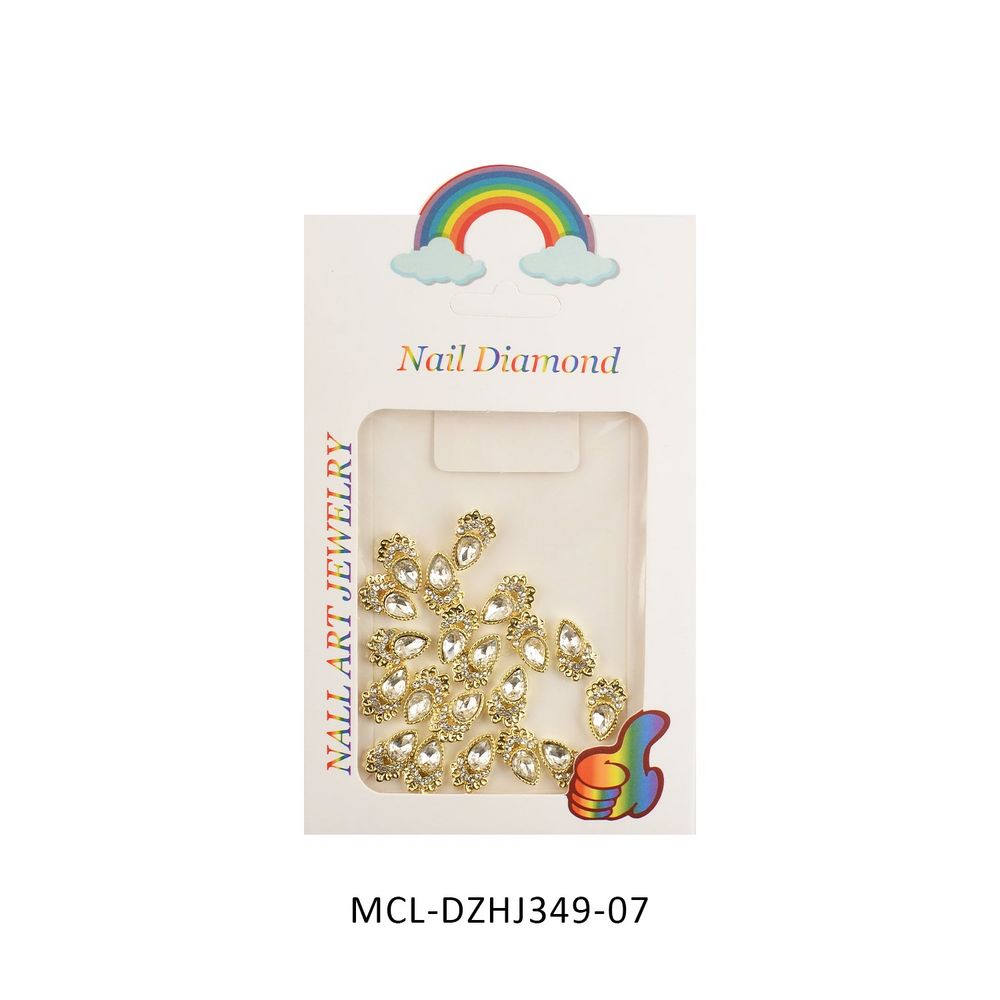
- Each bag contains 20 individual charms in uniquely shaped designs—enough for multiple manicures or a multi-nail design.
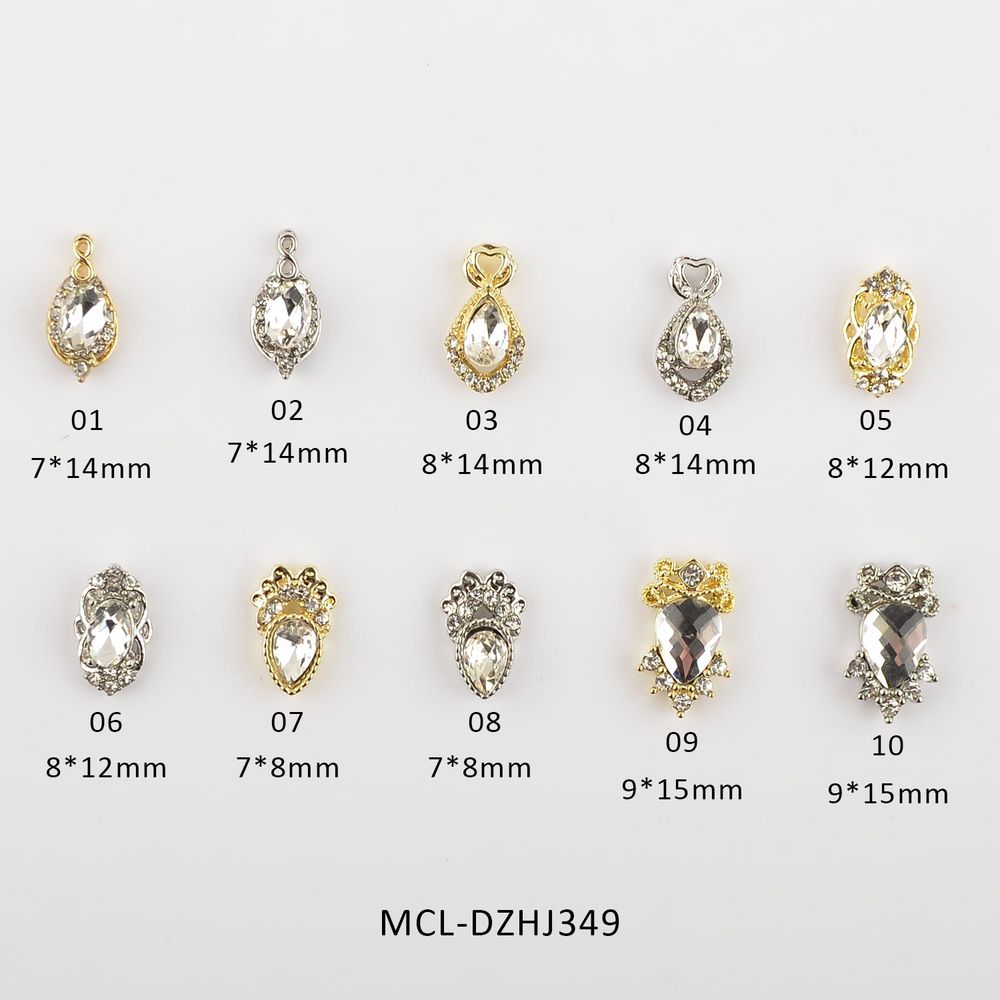
- Ten color options are available, labeled 01–10, so you can match a theme or client preference.
- These sets are sold in single packs priced at $9.95, though availability and pricing may change.
If you want to explore the exact styles and color choices, check the product listing in butterfly nail charms set for visual references and selection details.
Basic terms: quick glossary for beginners
- Charm: A single decorative piece used on one nail.
- 3D piece: Any nail accent that creates height or relief on the nail surface.
- Placement: Where you position the charm on the nail—cuticle area, center, or tip.
- Securement: The method used to attach the charm (gel, acrylic, resin, or nail glue).
Step-by-step: applying 3D butterfly nail charms
Follow these straightforward steps to attach charms cleanly and securely.
- Prep the nail: File and shape the nail, push back cuticles, and buff the surface lightly to remove shine if you plan to use nail glue. For gel or acrylic bases, cure and shape before adding charms.
- Create a secure base: If using gel, apply a small bead of builder gel or top coat where the charm will sit and do not cure yet (for tacky gel, cure after positioning). For acrylic, place the charm into the wet acrylic and hold until set.
- Pick and place: Use a wax-tipped tool, tweezers, or a silicon pick-up to lift the charm. Position it gently on the wet adhesive or uncured gel and press lightly to remove excess air under the piece.
- Cure or set: Cure under a UV/LED lamp if using gel. If using nail glue, allow the glue to dry fully according to the product instructions.
- Seal the edges: For durability, apply a thin layer of thick top coat or builder gel around the charm’s base (not over the motif itself unless the design allows). Cure if required.
Practical tips for neat, long-lasting results
- Choose placement wisely: central and near-cuticle placements stay more secure than tips which catch on fabrics.
- Use the right adhesive: a gel base or builder product gives a stronger bond for 3D pieces than a thin top coat alone.
- Work one nail at a time: adhesives can set quickly—position precisely before it hardens.
- Keep excess adhesive off the visible surface of the charm to maintain its finish and shine.
- When working with clients, warn them that 3D pieces can catch on clothing or hair and recommend gentle handling for the first 24 hours.
Key features in context
These charms are intentionally varied in shape to give designers flexibility—mix and match sizes across nails for an asymmetrical look, or use all matched pieces for a coordinated accent. The set format makes trying several layouts affordable and easy, and the ten color options let you coordinate with seasonal palettes or bridal schemes.
Who should use this set?
- Beginner nail artists who want simple, high-impact accents without investing in custom molds.
- Salon techs looking for affordable, ready-to-use 3D decorations for client manicures.
- DIY manicure enthusiasts who enjoy experimenting with dangles and layered textures.
Care, removal and safety notes
Handle nails with charms gently—avoid picking or twisting to remove a piece. To remove, soak or file through the adhesive layer used (follow the adhesive manufacturer’s removal guidance). Never pry a charm off without softening the bond first as this risks nail plate damage.
Avoid getting charms lodged under heavy pressure; 3D accents are decorative and not meant as structural reinforcements. If you have skin sensitivities, test adhesives and finishes on a small area first. For professional-quality supplies and support, the seller Dynamic Nail Supply can provide further product details.
Final thoughts
3D butterfly nail charms are an easy way to lift your nail art beyond flat polish. With a 20-piece assortment, multiple color choices, and simple attachment methods, you can practice placement, build signature looks, and offer clients something unexpected. Start with a single accent nail, practice secure attachment techniques, and expand to full mani designs as you gain confidence.
